Configuring Custom ID for Scheduling Links
Users with paid subscriptions can optionally customize their scheduling link(s) according to a customizable format.
About CalendarBridge Custom URLs
The default format of a CalendarBridge scheduling link is:
https://calendarbridge.com/book/<random id>
where <random id> is generated automatically when a scheduling link is created.
Users with paid subscriptions can optionally customize their scheduling link(s) according to the format:
calendarbridge.com/book/<unique custom id>/<(optional) additional field>.
For example, Jane may set her unique custom id to “busyjane” such that calendarbridge.com/book/busyjane/ becomes her default custom URL, and she can create additional customized URLs such as:
- https://calendarbridge.com/book/busyjane/intro for scheduling introductory meetings with potential clients
- https://calendarbridge.com/book/busyjane/catchup for scheduling check-ins with existing clients
- https://calendarbridge.com/book/busyjane/event for scheduling meetings relating to a one-time event
Plus she can still generate scheduling links that use the generic format of https://calendarbridge.com/book/<random id>
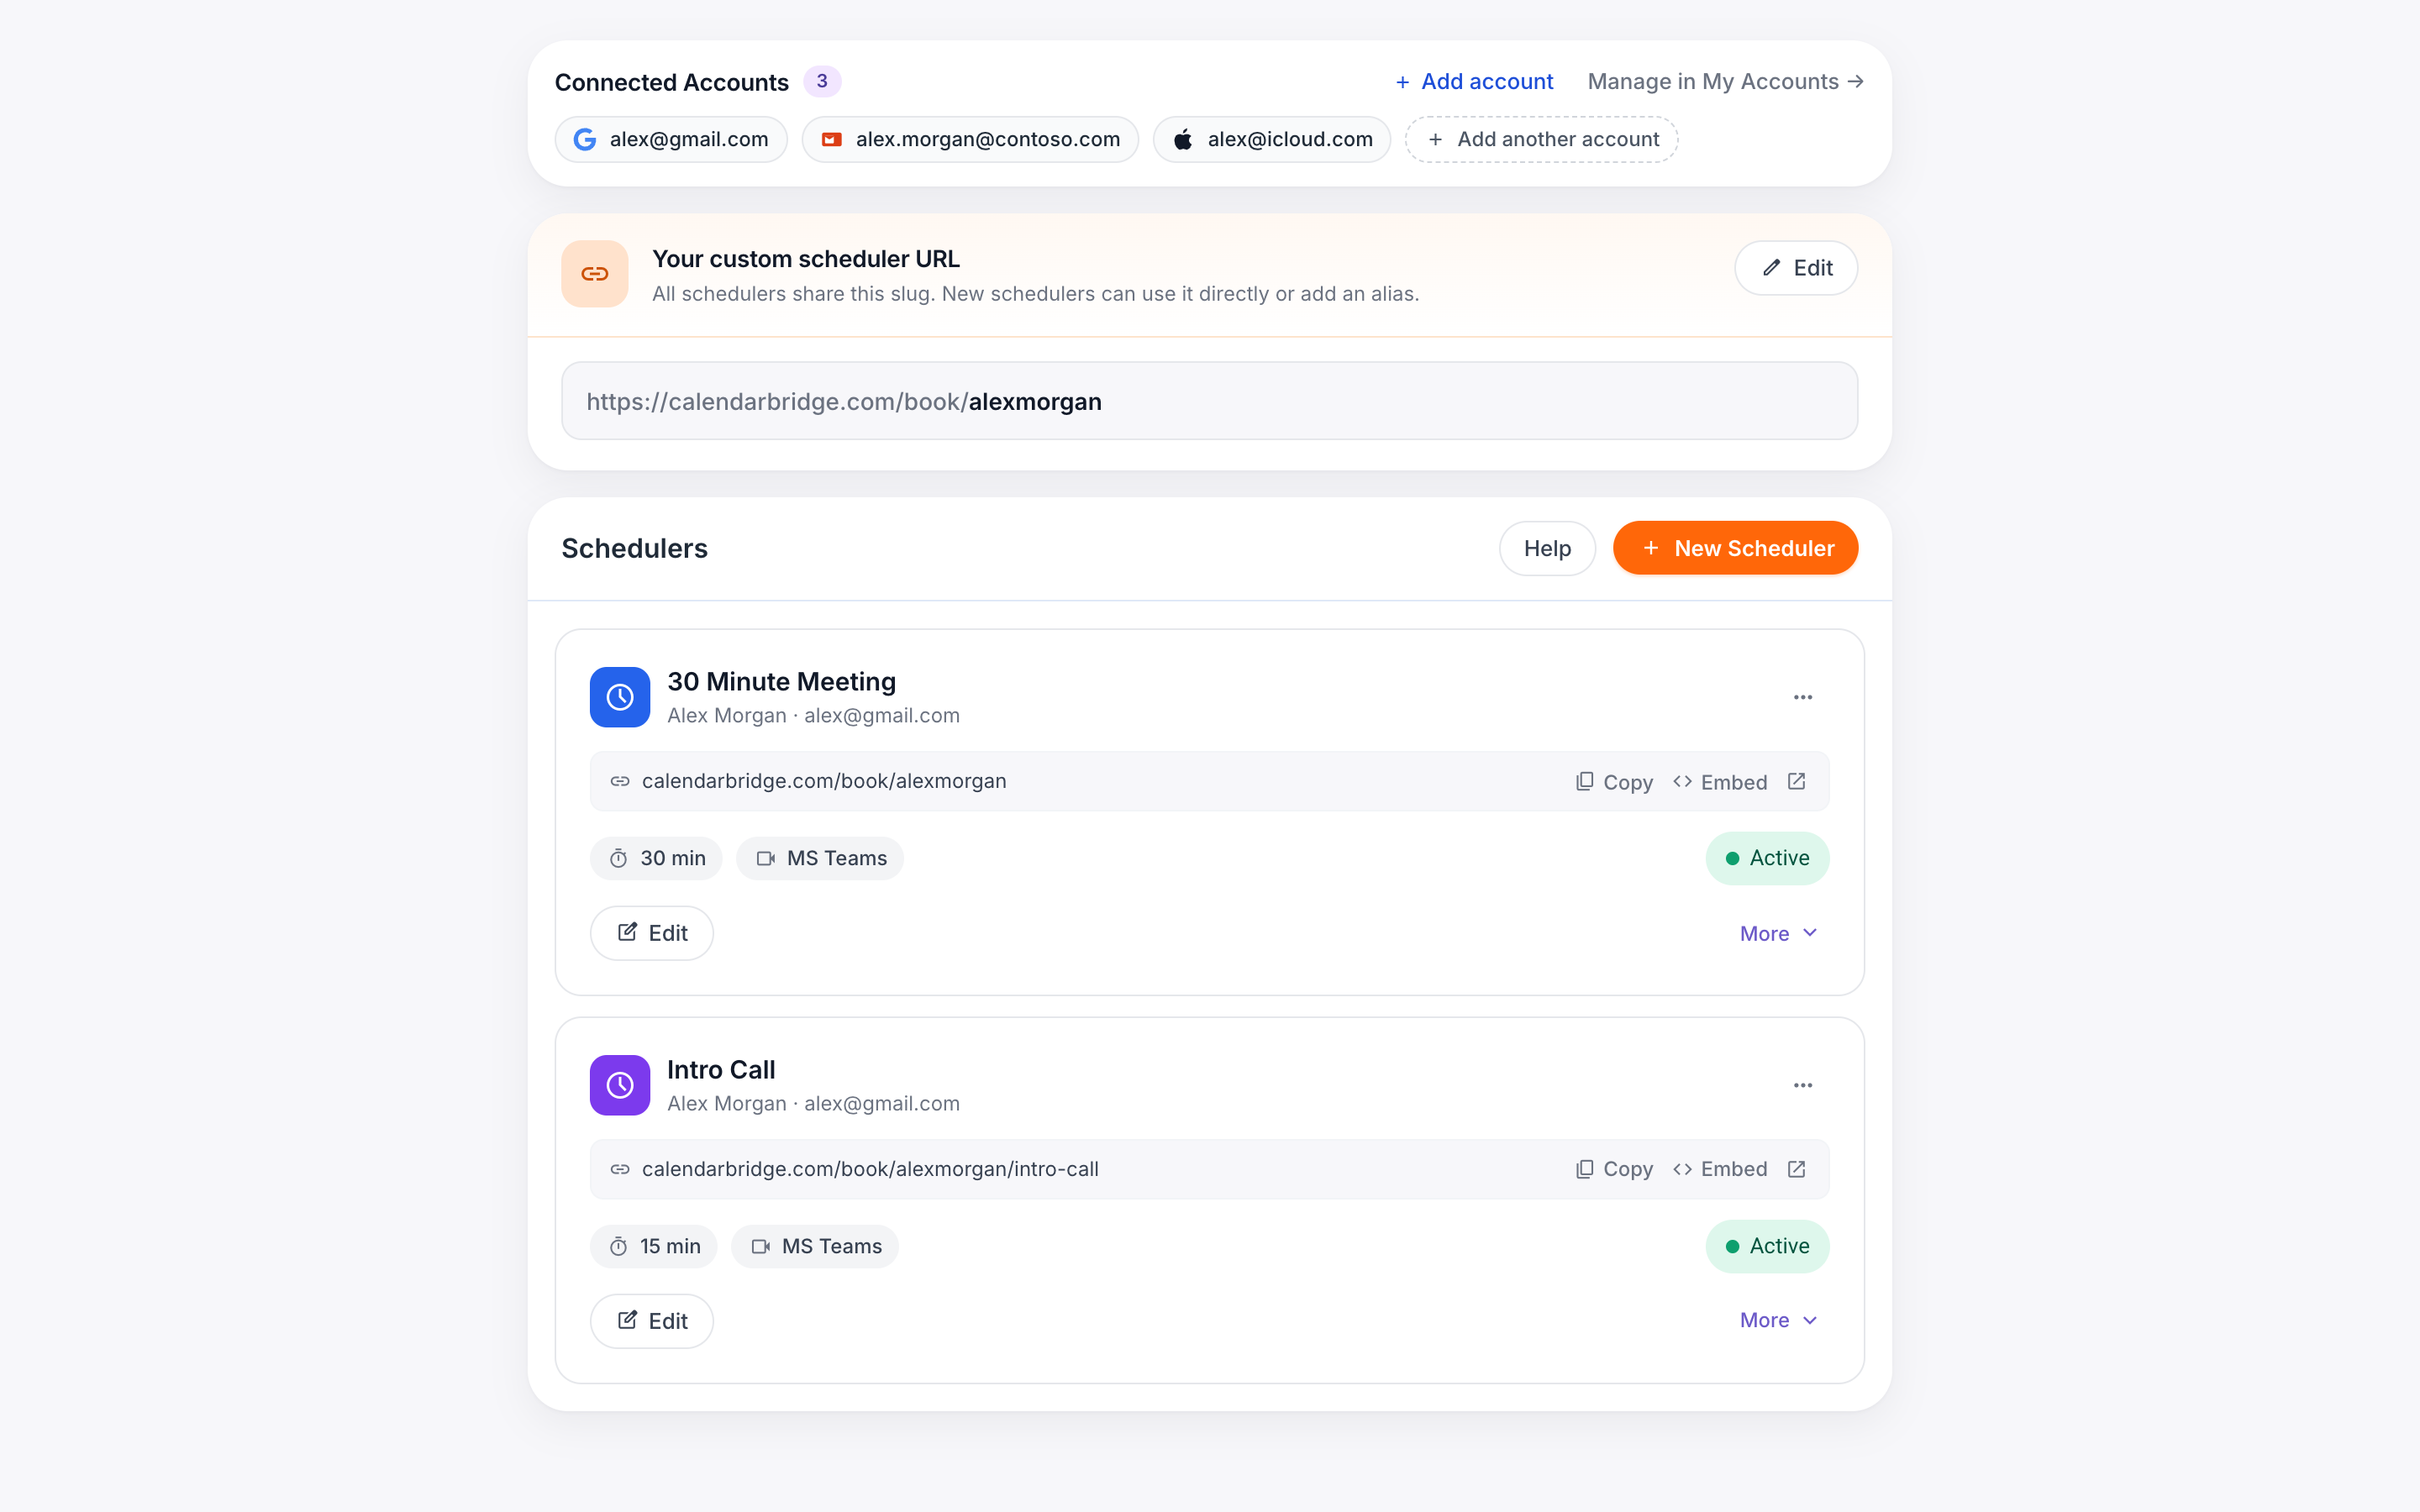
Setting your Custom URL
Click ‘scheduling’ in the left nav menu or just type https://calendarbridge.com/dashboard/schedules into your browser. There you will see a “Your Custom Url” section.
-
Click ‘Change.’Open the “Your Custom Url” section and click ‘Change.’
-
Enter your custom idEnter your custom id in the text box. The custom id must be (1) unique across all CalendarBridge users, (2) be 5 – 25 characters long; (3) use only lowercase letters, number, dashes, and underscores.
-
Lock in the custom idIf the custom id validates, you will then be able to click the “change” button to lock in the custom id.