How to Train Your CalendarBridge AI Scheduling Assistant
You can train your assistant to behave the way you want by writing simple instructions in plain language. This guide walks you through what to include in your configuration and how to get the most out of the assistant.
You can train your assistant to behave the way you want by writing simple instructions in plain language. In other words, you can train your assistant in your own words.
This guide walks you through what to include in your configuration and how to get the most out of the CalendarBridge Scheduling Assistant without overcomplicating things.
Your configuration lives in the AI Assistant Settings section of your CalendarBridge dashboard. You can update it anytime.
Where to Add Your Configuration
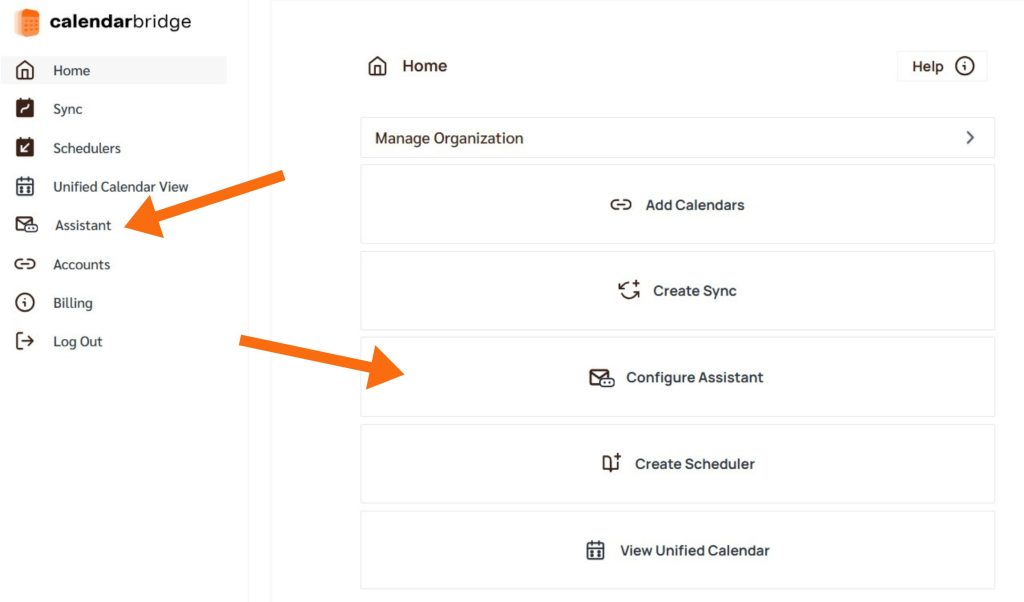
Go to your CalendarBridge dashboard and open the AI Assistant Settings. You can get there by clicking Assistant in the left menu or Configure Assistant on the home screen. Tap “Edit” to make changes to your instructions anytime.
This is where you add your instructions. Write them the same way you’d talk to a real assistant.
1. Start with the Basics
Your assistant works best when it knows your core preferences. These are the first things to define.
Working Hours
Set the days and times you’re available for meetings.
Examples:
- I am available Monday through Friday from 9 AM to 5 PM.
- I do not take meetings after 4 PM on Fridays.
Meeting lengths and locations
Define standard durations and where meetings take place.
Examples:
- Set internal calls for 30 minutes over Zoom.
- Lunch meetings are 1 hour, my preferred location is The Sandwich, 108 Alta Rd, Miami, FL 10002
- Coffee meetings are 30 minutes at Cougar Coffee.
Platform preferences
Let the assistant know which tools to use.
Examples:
- Always include my personal Zoom link: https://zoom.us/my/katrina in the invitation
- Use Microsoft Teams for meetings with anyone at @company.com. Use zoom for everyone else
- Use Google Meet for all meetings under 30 minutes. For longer meetings, use Zoom.
Tone of communication
Control how the assistant sounds in emails.
Examples:
- Use a professional and friendly tone.
- Keep messages concise and polite.
- Talk like a Pirate.
We recommend keeping this professional but you can have a bit of fun with it.
2. Add Follow-up Rules
Tell your assistant when and how to follow up, and with whom. You can set clear boundaries to avoid over-messaging or reaching the wrong person.
Examples:
- Follow up once every 24 hours, but not more than 3 times total.
- Wait at least 1 full day before sending a follow-up.
- Only send follow-ups Monday through Friday.
- Never follow up more than once with boss@example.com.
- Do not follow up with anyone if the meeting is more than 5 days away.
Adjust Follow-Up Behavior in a Thread
You can update follow-up instructions by emailing the assistant again in the same thread.
Note: This only works if you were the one who originally CC’d the assistant.
Scenario: The recipient asks to follow up later.
You CC the assistant to schedule a meeting. The person replies, “Try me later this week.” To adjust the timing, email the assistant again in that same thread with:
Follow up in two days instead
The assistant will pause its current schedule and resume in two days.
Scenario: The meeting is no longer needed.
If the meeting gets booked some other way or is canceled, email the assistant again with:
Please stop following up on this thread
The assistant will stop follow-ups for that thread entirely.
Only you, the original sender who CC’d the assistant, can send these updates. Anyone else on the thread will be ignored.
3. Set Meeting Types (Optional but Helpful)
If you frequently schedule different kinds of meetings, you can define them here so the assistant doesn’t have to ask for details.
Examples:
- Interviews are 60 minutes and take place in Conference Room A.
- Lunch meetings are 45 minutes and should not be scheduled back-to-back.
- Coffee chats are 30 minutes and only booked between 10 AM and 2 PM.
- Do not schedule interviews back to back.
Learn more about how to use AI as a meeting room scheduler.
4. Tips for Better Results
Use plain language
You don’t need to format anything in a special way. Just explain what you want clearly and separate each rule with a period.
Start simple
You don’t need a full config from day one. Start with working hours, tone, and one or two meeting types. Add more over time.
Correct mistakes in the thread
Avoid scheduling errors by making sure your instructions are complete and unambiguous. If something does go wrong, you can email the assistant again on the same thread with a correction.
Make changes as you go
Your configuration can grow with you. As your schedule, preferences, or role shifts, you can update your setup anytime. Just adjust what you need without starting over.
Sample Configuration
Here’s a copy-paste able starting point, make sure you change the email address in the last line to your internal team members:
(Hover over box, copy function appears in upper-right)
Use a friendly and professional tone.
I’m available Monday through Friday from 9 AM to 5 PM.
I do not take meetings between 4:30 and 5:00 PM.
Always ask clients for their availability before offering mine.
Book internal meetings based on my availability.
External calls are 30 minutes on Zoom.
Lunch meetings are 45 minutes at Earl’s.
Follow up once per day, but never on the same day the invite is sent.
Internal team members have email addresses ending in @example.com.