Restrict/Allow CalendarBridge Access to Certain Microsoft 365 Users
These steps restrict which users can sign up for CalendarBridge individually or be given a license on a Managed Users group plan. If you are an admin using Managed Syncs, follow Restrict Domain-Wide Authorization to a Microsoft 365 Security Group instead.
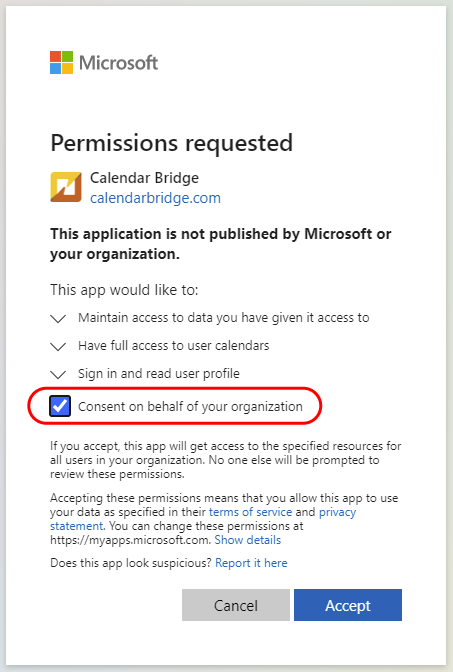
1. Have a Microsoft 365 Global Admin authorize the CalendarBridge app
Have the admin of the Microsoft 365 tenant visit this link, check “consent on behalf of your organization,” and click “Accept.”
2. Enable users to grant delegated access to CalendarBridge
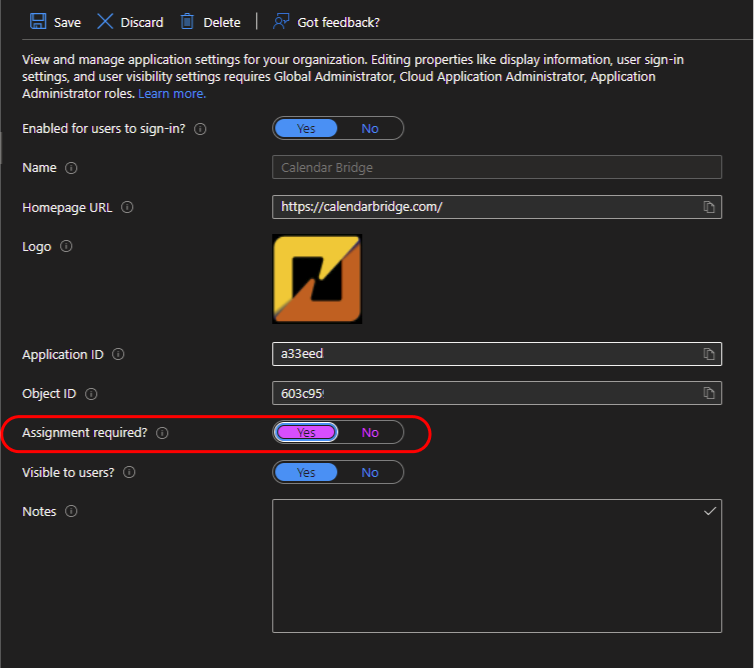
In Azure Active Directory, go to “Enterprise Applications,” click CalendarBridge in the list, click “Properties” on the left menu, toggle “Enabled for users to sign-in?” to Yes, and click “Save.”
3. (Optional) Restrict to certain users with “Assignment required”
If you only want certain users to be able to grant delegated access, in Azure Active Directory go to “Enterprise Applications,” click CalendarBridge, click “Properties,” set “Assignment required” to Yes, and click “Save.”
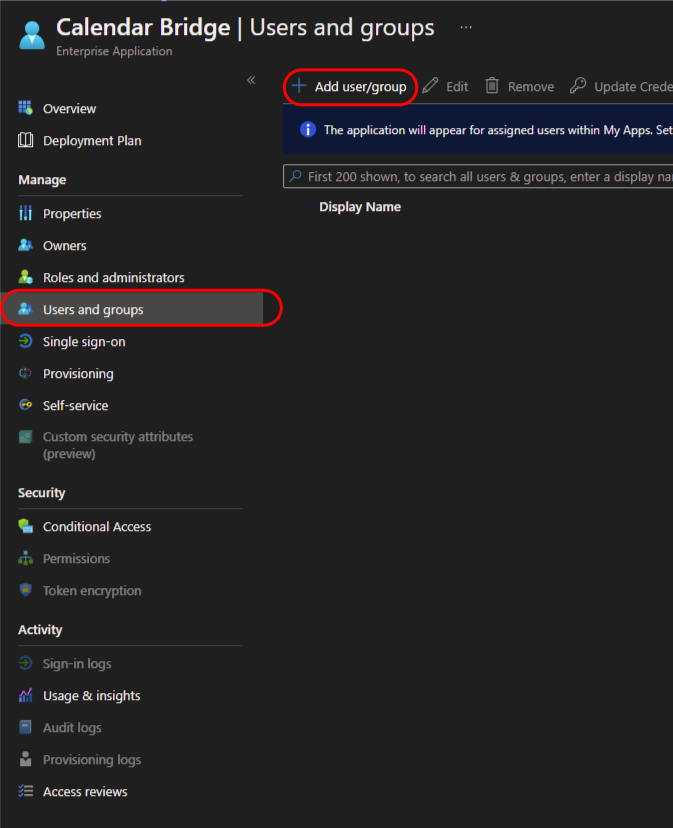
Then, in the left menu, click “Users and groups,” click “Add user/group,” and add the users who should be permitted to use CalendarBridge.
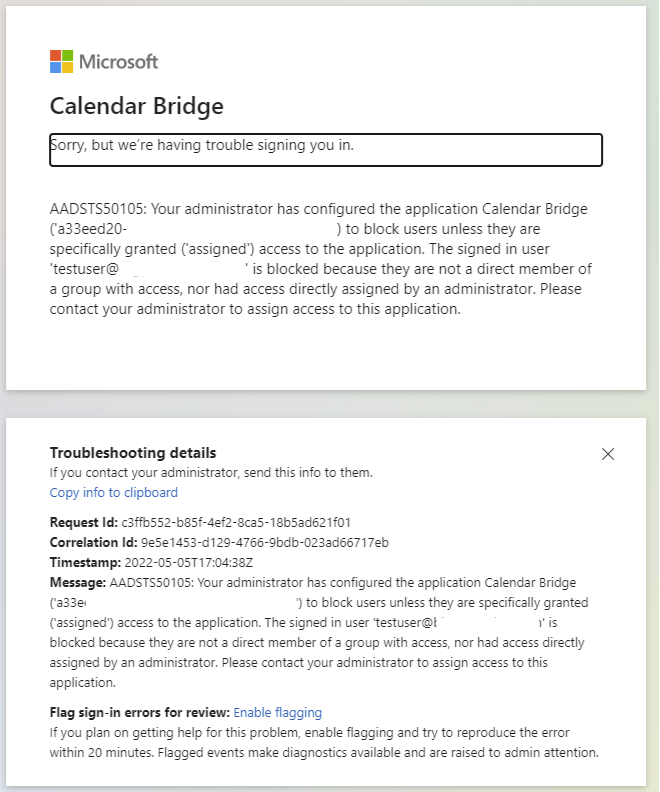
Users who have not been assigned to the application in Azure Active Directory will see the following when trying to connect their calendar: