Editing a Sync Connection
Due to our privacy-centric approach to syncing, editing a sync must begin with removal of all copies.
Editing a sync connection requires removing existing copies on your calendars. This causes a lot of activity on your calendar and can lead to Google and/or Microsoft temporarily rate limiting your account. So it is best to avoid frequent edits, if possible. Learn more here.
-
Go to your syncs dashboard
-
Begin editing a sync by clicking ‘edit’ button on the sync item.
-
Confirm you would like to begin the edit process by clicking ‘Start Edit.’
This will begin the process of removing existing copies from your calendar. This could take up to 15 minutes or more. You can periodically check the status by refreshing the page. When the removal is complete, a “Tap to Edit” button will appear on the sync item.
-
Click the “Tap to Edit” button.
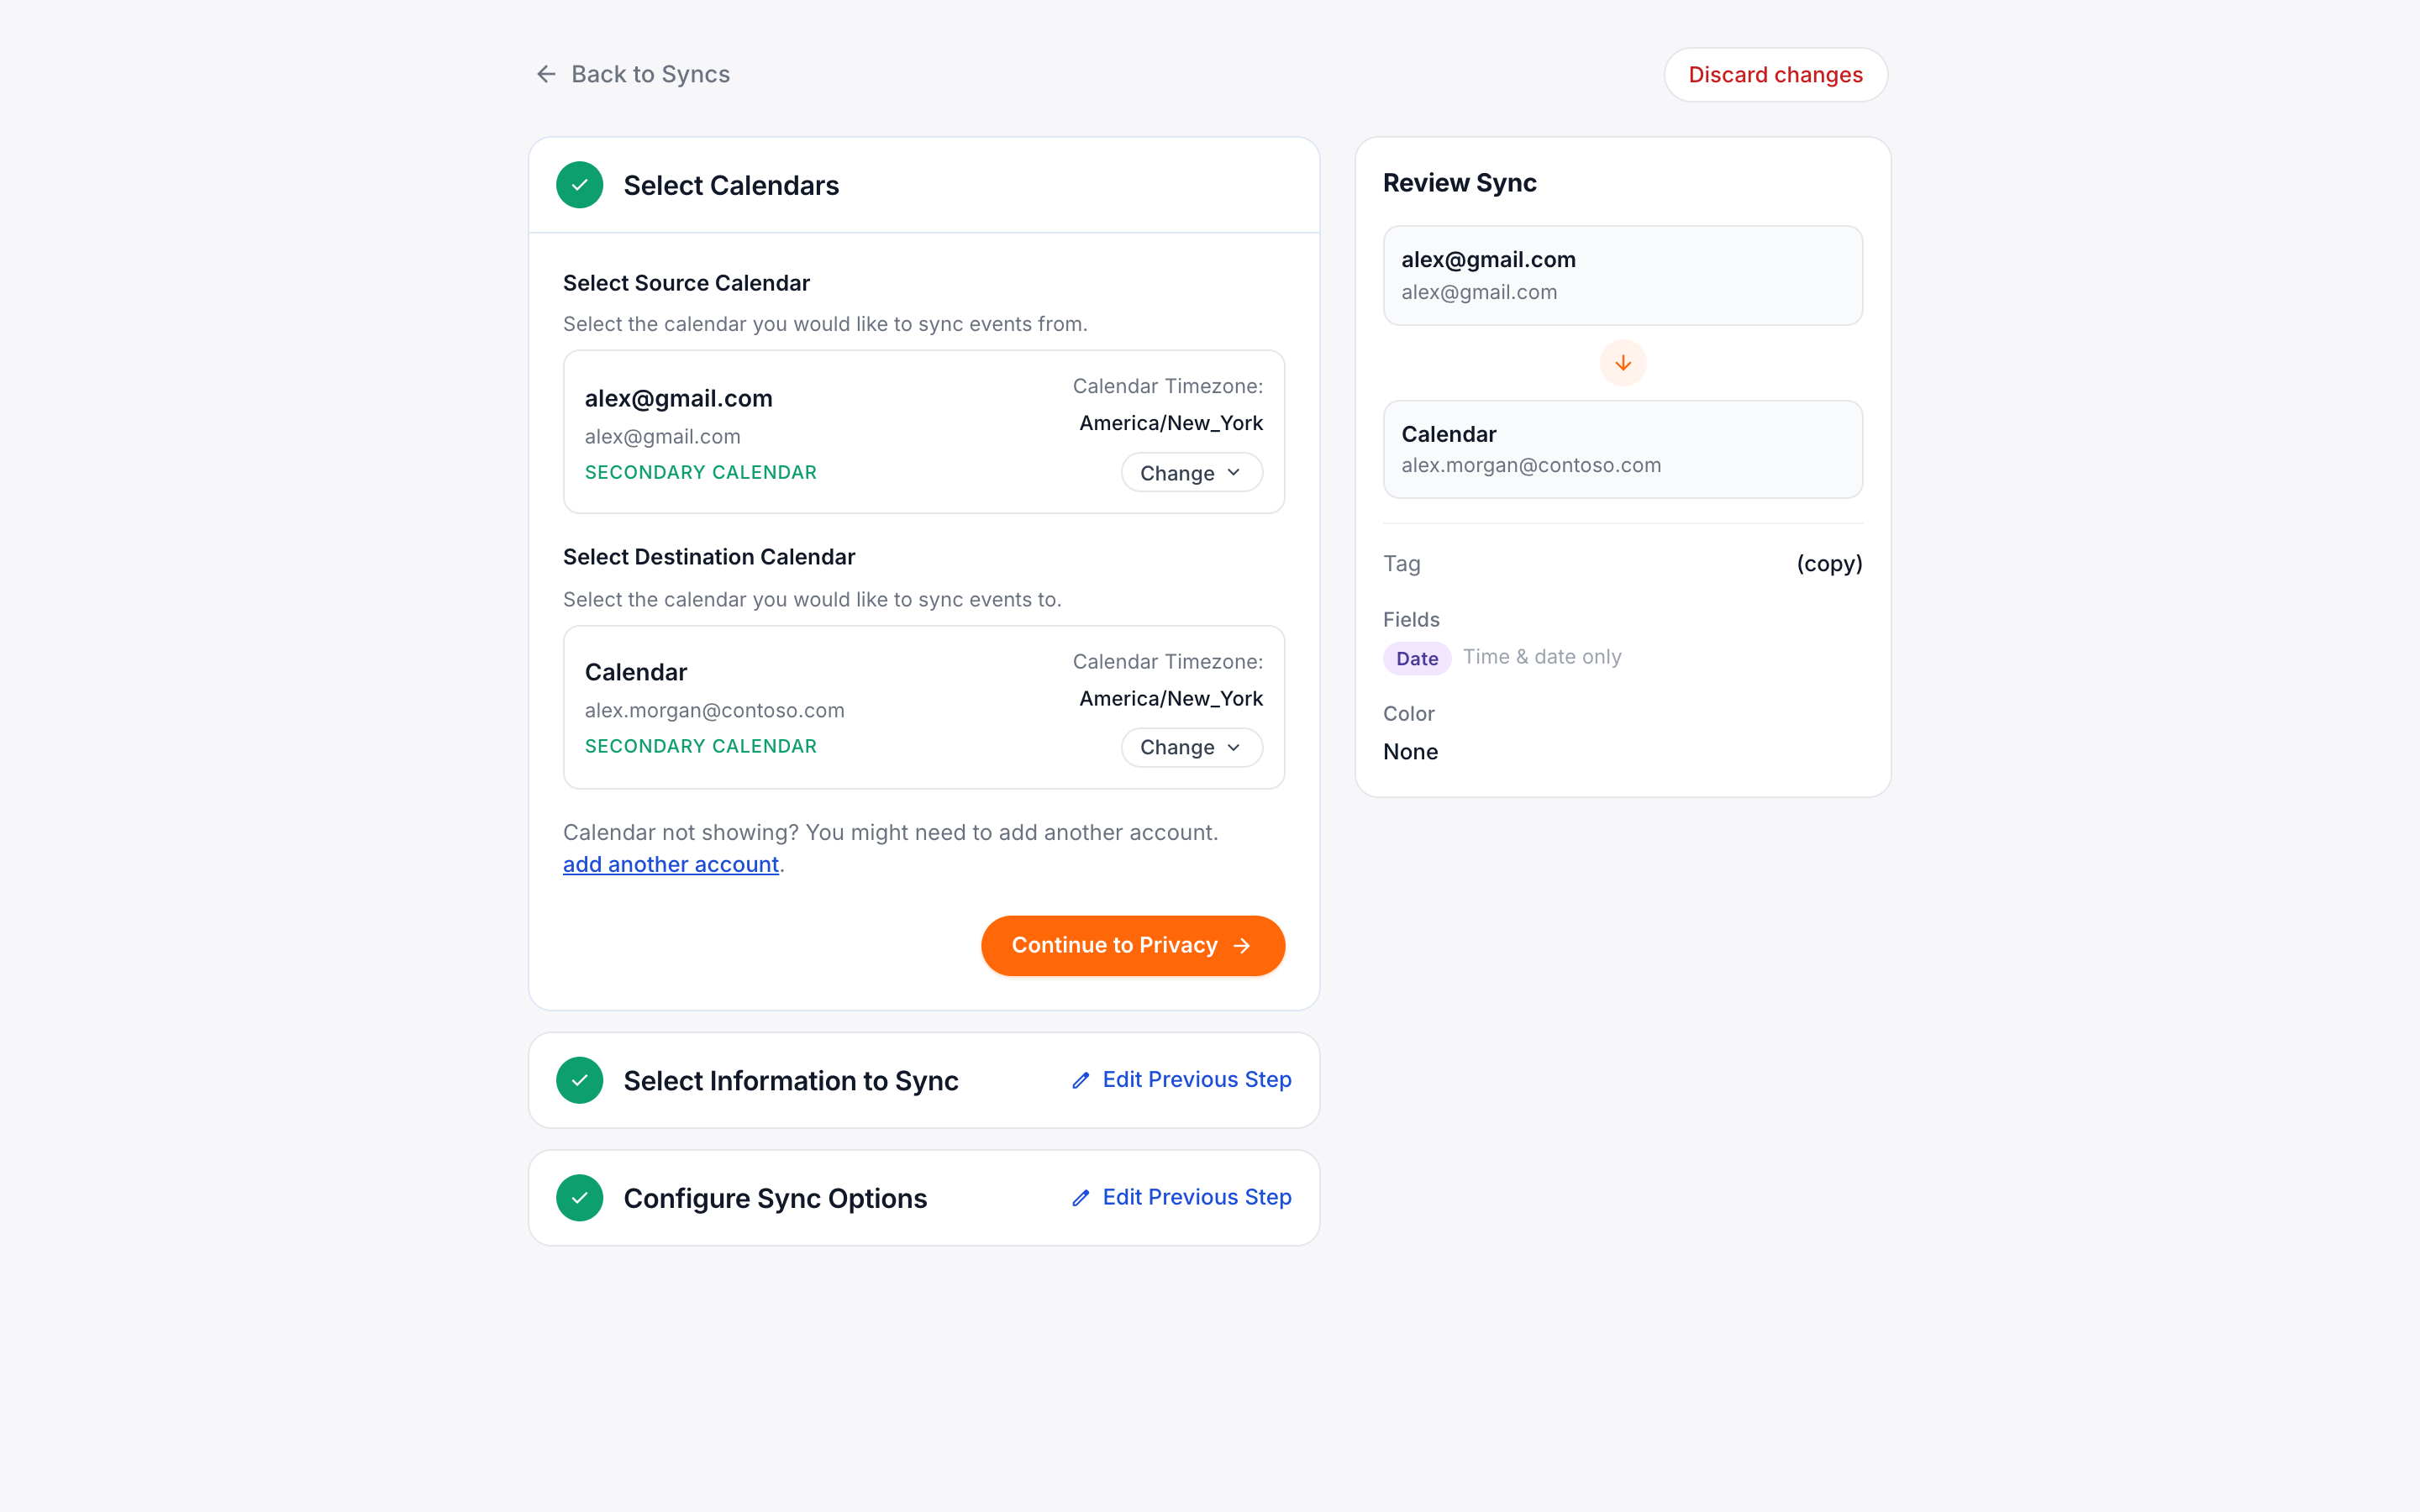
This will bring you to the sync connection settings screen (which looks exactly the same as setting up a sync connection).
You must complete all the steps to for the edit to go into effect. Until then (i.e., as long as the “Tap to Edit” label is present), the sync connection is in an inactive state.