Get Started with AI Scheduling Assistant
The CalendarBridge AI Scheduling Assistant turns email requests into booked meetings. CC assistant@ai.calendarbridge.com and the assistant checks your availability, finds a time, and sends the invite.
This new AI scheduling feature turns email requests into booked meetings. Just send a message like “Please find time for a 30-minute call with Alex next week” and CC assistant@ai.calendarbridge.com. The assistant checks your availability, finds a time, and sends the invite.
It works across all your calendars, understands natural language, handles rescheduling, and supports every time zone and language, so meetings land where and when they should.
No forms. No links. No extra apps. Just the same simplicity you expect from CalendarBridge, now in your inbox.
Step 1: Log in to your CalendarBridge account
Go to: https://app.calendarbridge.com/login/ and sign in to your CalendarBridge account.
Step 2: Connect your accounts to access calendars
Learn how to connect all your calendar accounts to CalendarBridge.
Step 3: Go to the Assistant section on the menu list
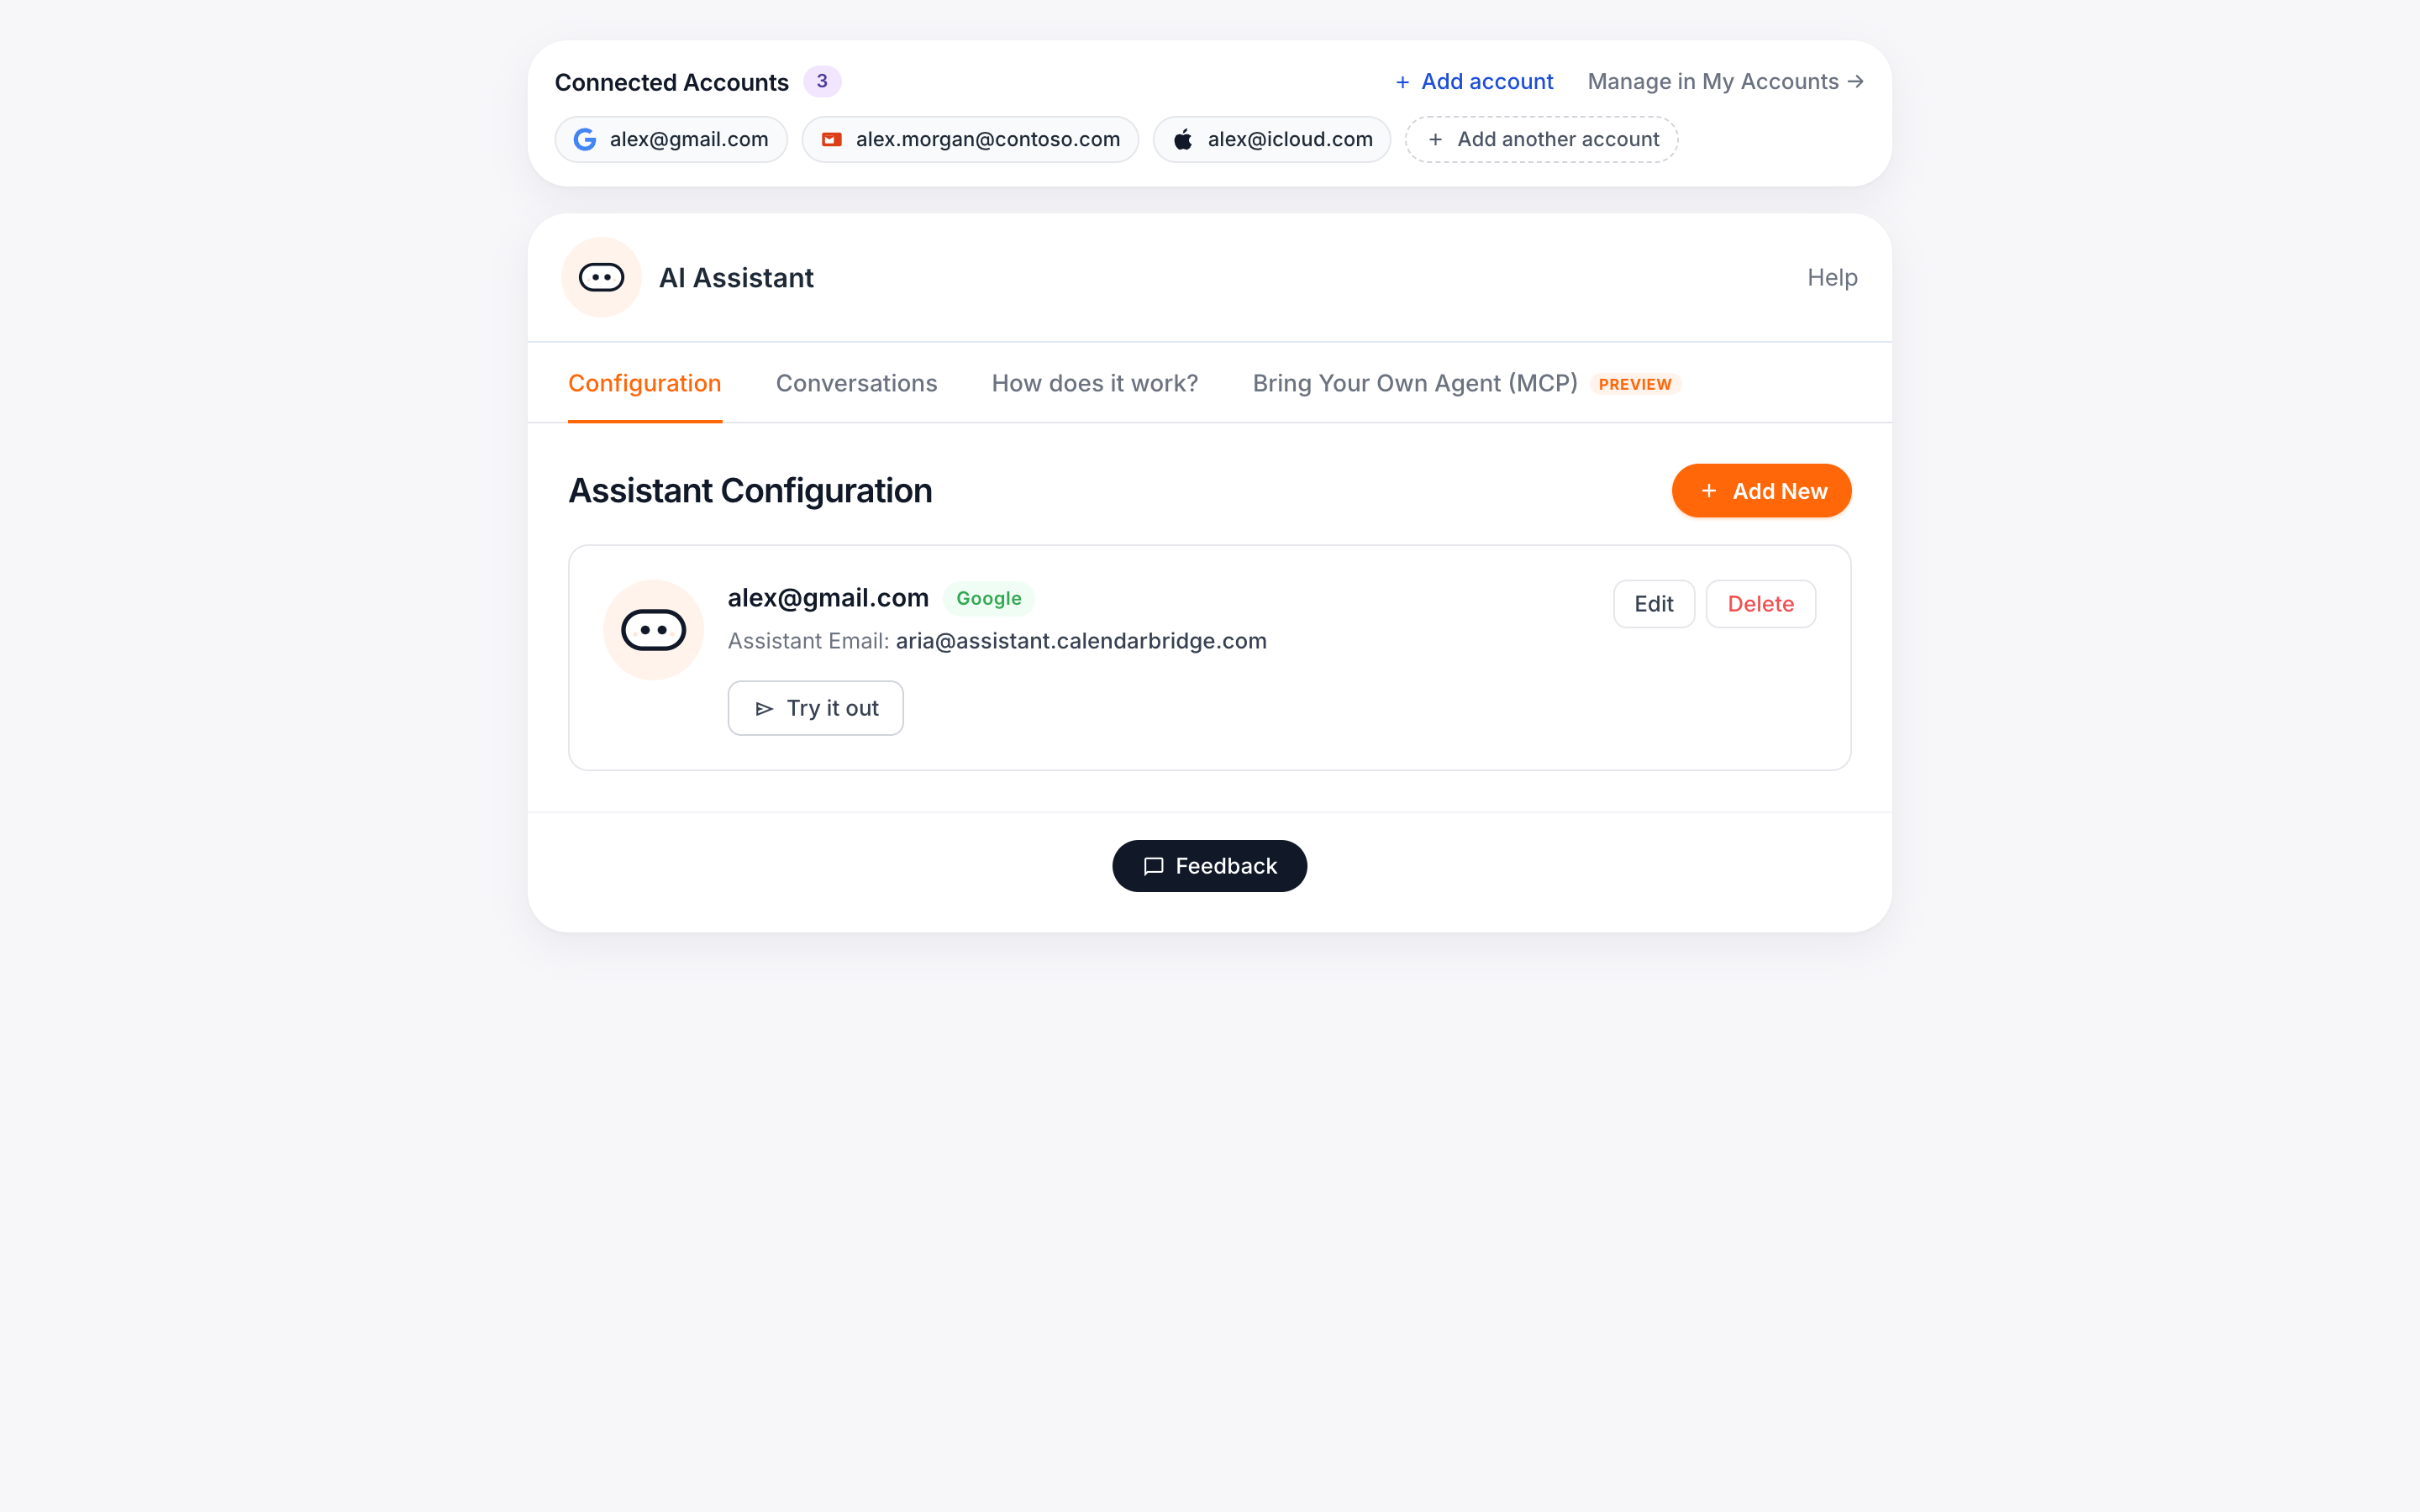
Step 4: Select the Email Address(es) the AI Assistant Will Respond To
In Assistant Configuration, choose the email account(s) you want the AI Assistant to respond for.
If you have multiple email accounts connected, you can select more than one. The assistant will respond when it is included on messages sent to any selected address.
Step 5: Complete Your Assistant Configuration
- Choose the primary email and calendar for your assistant
- Add a secondary calendar for availability checking
- Set your timezone
- Connect video conferencing platform for video conferencing
- Add your plain text AI scheduler assist configuration rules. (Learn more)
Note: In my configuration below, you can see I instructed the AI scheduler to:
- Adhere to my regular work hours.
- Limit meeting duration based on the type of meeting (coffee or lunch)
- Provided preferred locations for the meeting.
- Added a buffer of 15 minutes before and after.
Click Save changes to finish configuring your assistant.
You can return to this page anytime to update your configuration.
Use your Assistant from Multiple Email Accounts
If you have multiple email accounts connected to CalendarBridge, you can configure the assistant for more than one address.
After setting up your first assistant, an Add New button will appear on the Assistant Configuration page. Use this to create additional assistants for other connected email accounts.
The assistant will respond when it is included on messages sent to any configured address.
Contact Your AI Assistant
Once your assistant is configured, you can interact with it in any of the following ways:
CC the assistant on an email thread to coordinate or schedule a meeting
Email the assistant directly to request scheduling, rescheduling, or updates
Chat with the assistant from the Unified Calendar for quick scheduling requests
The assistant will process your request and respond based on your configured availability, preferences, and calendar settings.
Your assistant is now set up and ready to use.
For more detailed information about how it works and the different ways you can use it, see Using Your AI Scheduling Assistant.
Once you add the assistant@ai.calendarbridge.com email address, sit back and let it do the work. There is no further interaction required from you and the assistant handles everything to arrange the time, discuss it with the person you emailed, and add the event to your calendar.
Simple, fast and very efficient!