How to Set Up a Default Configuration for Your Organization’s AI Assistant
Set a default configuration that applies to all users in your organization, ensuring consistent tone, scheduling rules, platform preferences, and follow-up behavior without requiring each employee to configure their assistant individually.
You can set a default configuration that applies to all users in your organization using the CalendarBridge AI Assistant. This ensures consistent tone, scheduling rules, platform preferences, and follow-up behavior without requiring each employee to configure their assistant individually.
This guide walks through how to create, manage, and scale your organization’s default assistant configuration.
Step 1: Create a Group Account
To get started, create a group account for your organization. This gives you access to centralized billing, user management, and default assistant configuration.
Step 2: Authorize Access for Managed Syncs
The assistant only works if it can access calendar data. Follow this guide to authorize access for your users’ calendars.
Step 3: Build Your Organization’s Default Configuration
Once your group account is set up and calendar access is authorized, you can define the default configuration.
Where to Set It Up
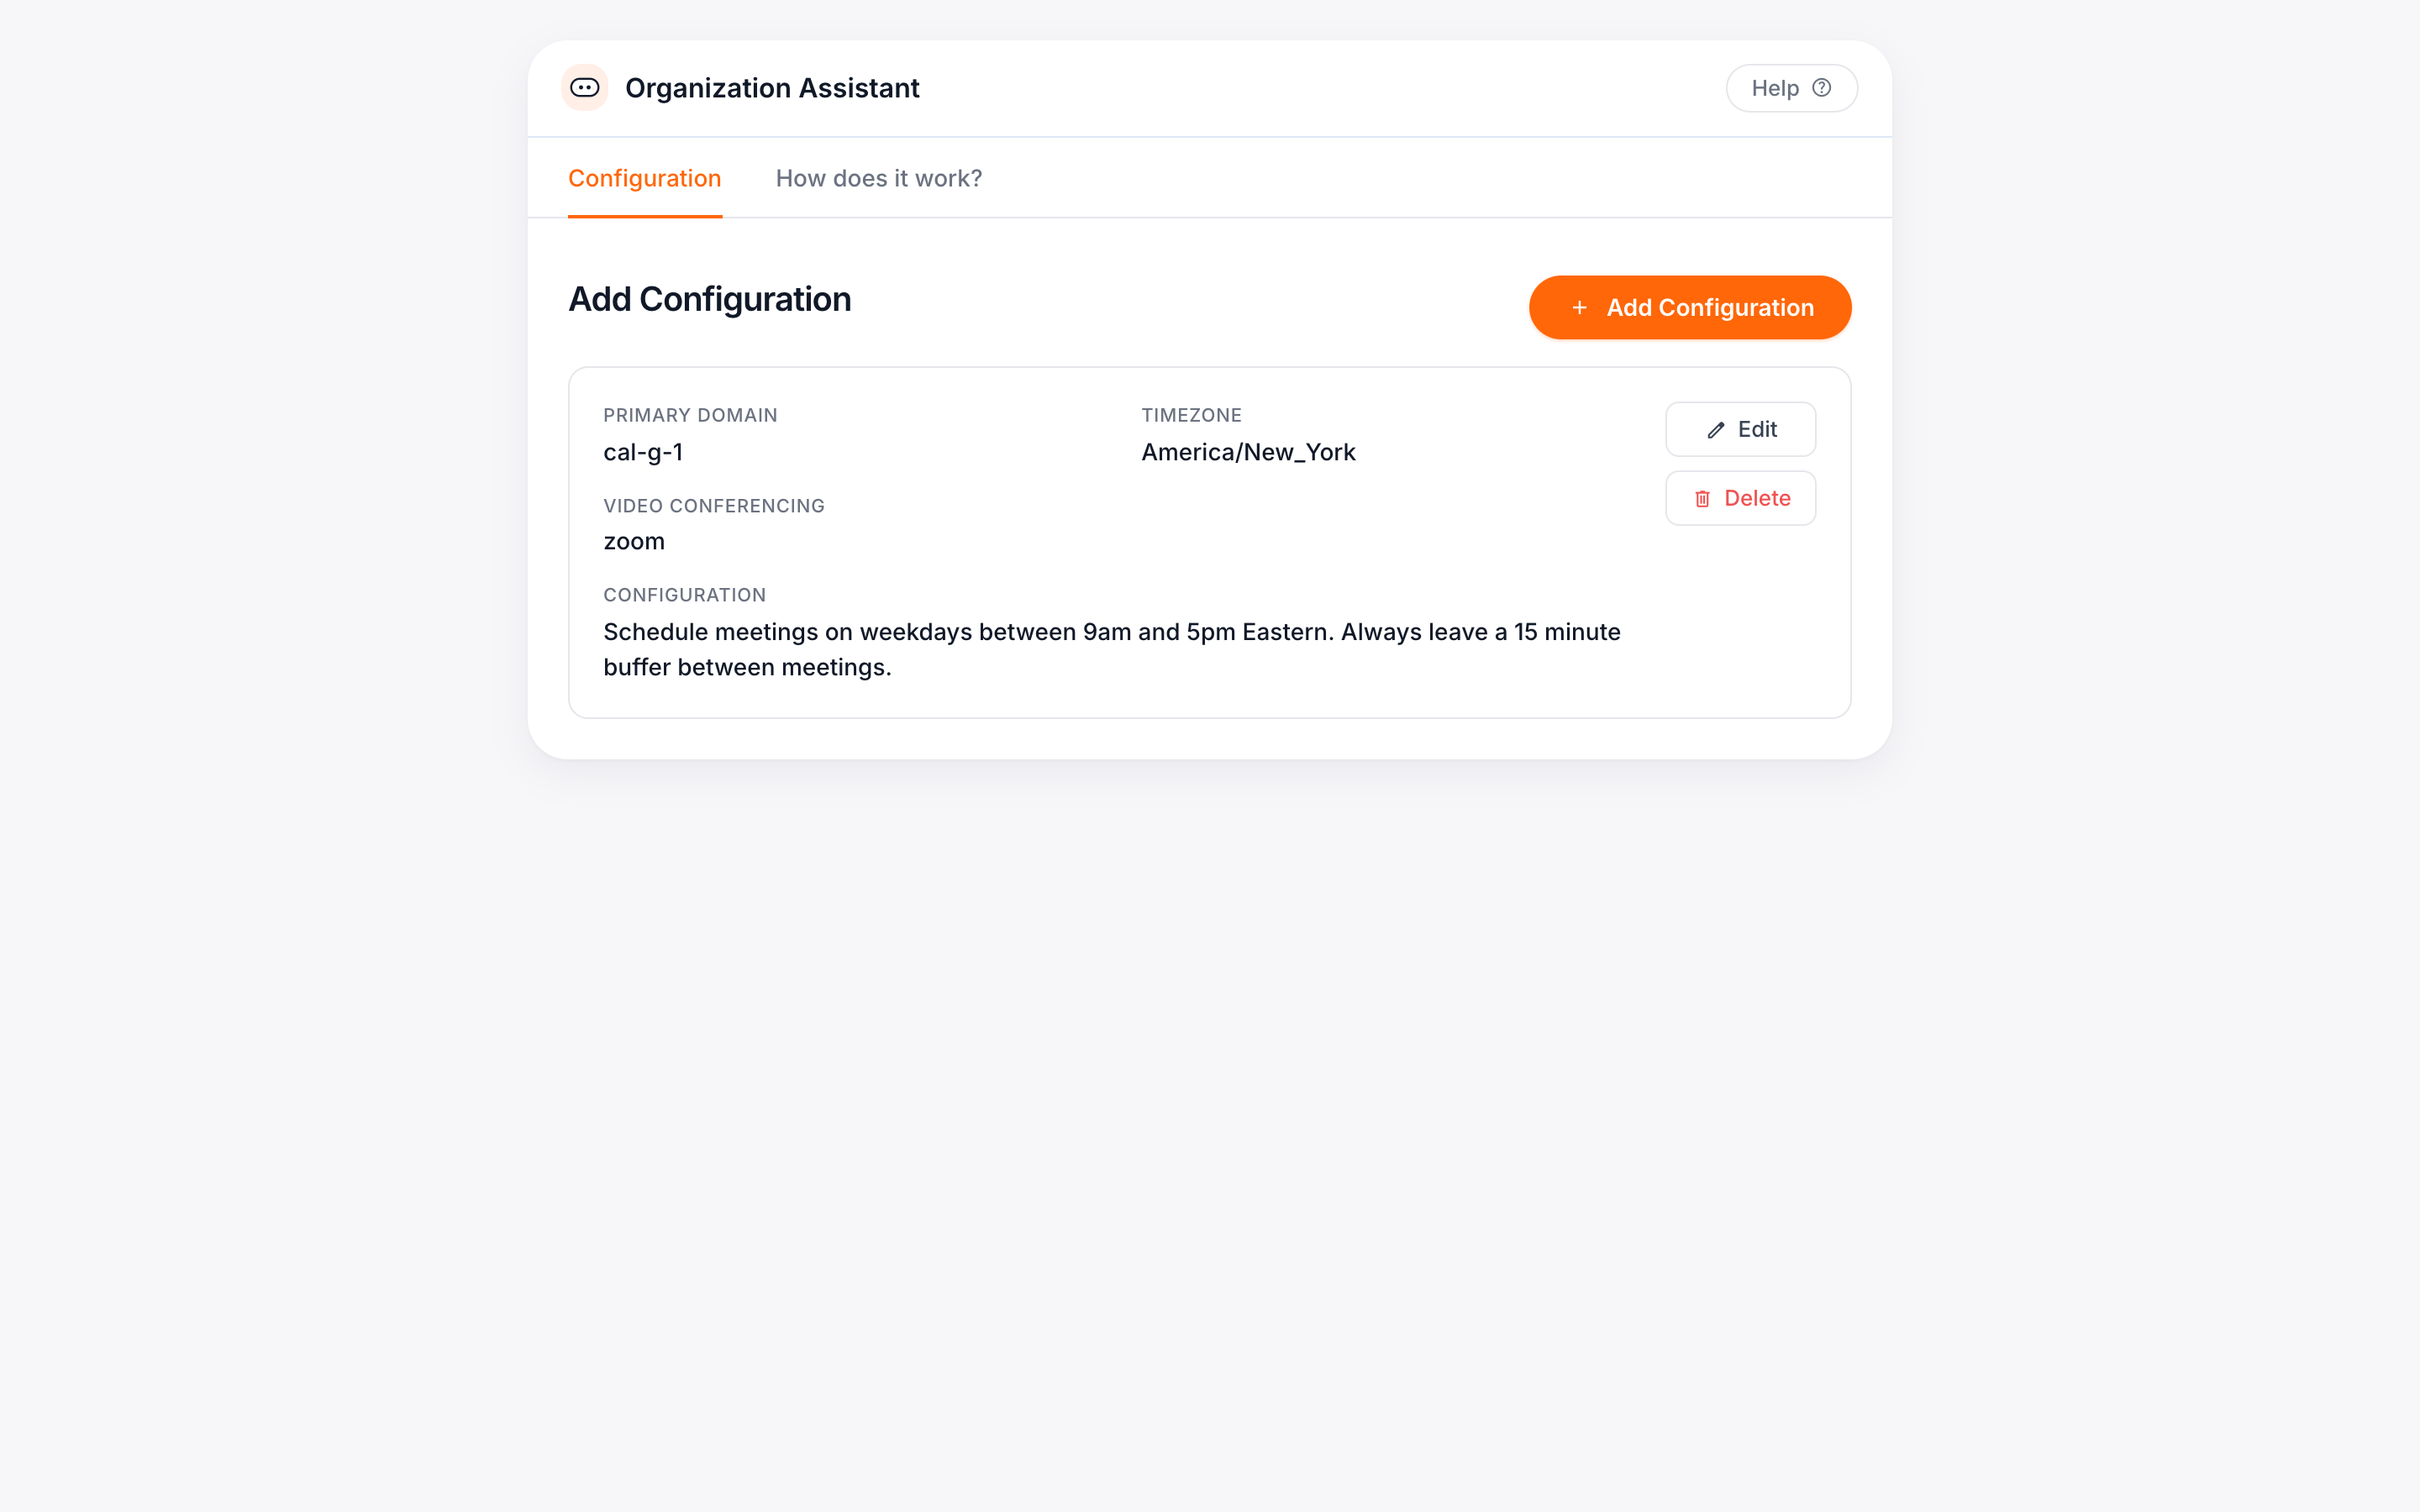
From your Group Dashboard, go to the Assistant Settings tab. This is where you’ll define the instructions your assistant will follow across the organization.
All users inherit this configuration unless they create their own.
What to Include in Your Default Configuration
Use plain language to describe how you want your assistant to behave. For example:
Tone of communication
Example: Use a professional and friendly tone.
Working hours
Example: Schedule meetings between 9 AM and 5 PM, Monday through Friday.
Meeting types, lengths, and locations
Example: Internal meetings are 30 minutes on Microsoft Teams. External calls are 45 minutes on Google Meet.
Follow-up behavior
Example: Follow up once per day, but never on the same day the invite is sent. Do not follow up more than three times.
Platform preferences
You can set Google Meet or Microsoft Teams as your org’s default platform.
Note: Zoom must be configured by each individual user since authorization is user-specific.
Example Default Organization Configuration
You can copy and edit this to fit your team:
(Hover over the box below and a “copy” link will appear in the upper-right corner)
Internal meetings should default to 30 minutes unless otherwise specified. Schedule recurring team syncs for Mondays at 10 AM.
Avoid scheduling across departments without checking for conflicts with leadership calendars.
Do not book over company-wide blocks labeled “No Meetings” or “Focus Time.”
Leave 15 minutes of buffer time between internal meetings.
Use the title of the meeting request in the calendar invite subject line.
All meetings should include the relevant department name in the invite location field.
When scheduling on behalf of multiple team members, prioritize availability for senior staff.
How Individual Users Configure Their Assistant
Any user in your organization can customize their assistant’s behavior. These customizations only affect that individual user and do not change your organization’s default configuration or billing.
Here’s how it works:
First, the user needs a connected calendar. This can be done in one of two ways:
- The admin adds it through the “Add Calendar Account” section in the group dashboard
- The user connects it from their own personal dashboard
Once connected, the user can go to the My Assistant tab and create their own configuration. It only affects that user’s assistant, not your org-wide settings.
To use Zoom or Google Meet, users must connect their own account under the Video Conferencing section. These platforms can’t be configured at the org level.
These updates only affect that user. They’re still fully covered by your group license and no extra subscription required.
How the Assistant Handles External Contacts
Your assistant can send emails to anyone, not just internal team members.
It uses your connected email account, so messages come from your address and include your signature.
Recipients do not need to log in or create an account to respond.
Once your default configuration is saved, your assistant is ready to use across the organization.
Need help managing individual users or scaling configuration changes?
Visit the Group Admin Help Center for advanced settings, license management, and more.
Tips and Best Practices
For more examples and guidance on writing assistant instructions, visit How to Train Your CalendarBridge AI Scheduling Assistant.
You can email your assistant directly with simple requests. Here are some examples to try:
- Add one week of PTO and notify my team
- Remove all time blocks related to the X team project
- Schedule a team lunch for everyone next Friday
- Change all 30-minute meetings with John to 45 minutes
- Add “Fun Fact of the Day” to all internal emails
- Forward any email with a deadline, event, or meeting notice to have it added to your calendar