Getting Started with Managed Syncs
Here are the steps to setting up a group account with managed sync licenses.
Steps
- Follow Create a Group Account, being sure to purchase sync (not user) licenses.
- Follow Authorizing Access for Managed Syncs. Do this for each tenant that hosts calendars you want to sync.
- Follow the steps in Connect authorized domains to group account. Do this for each tenant that hosts calendars you want to sync.
- Each calendar you want to sync needs to exist on each of the tenants. See Preparing Microsoft and Google Tenants for Admin-Managed Syncs.
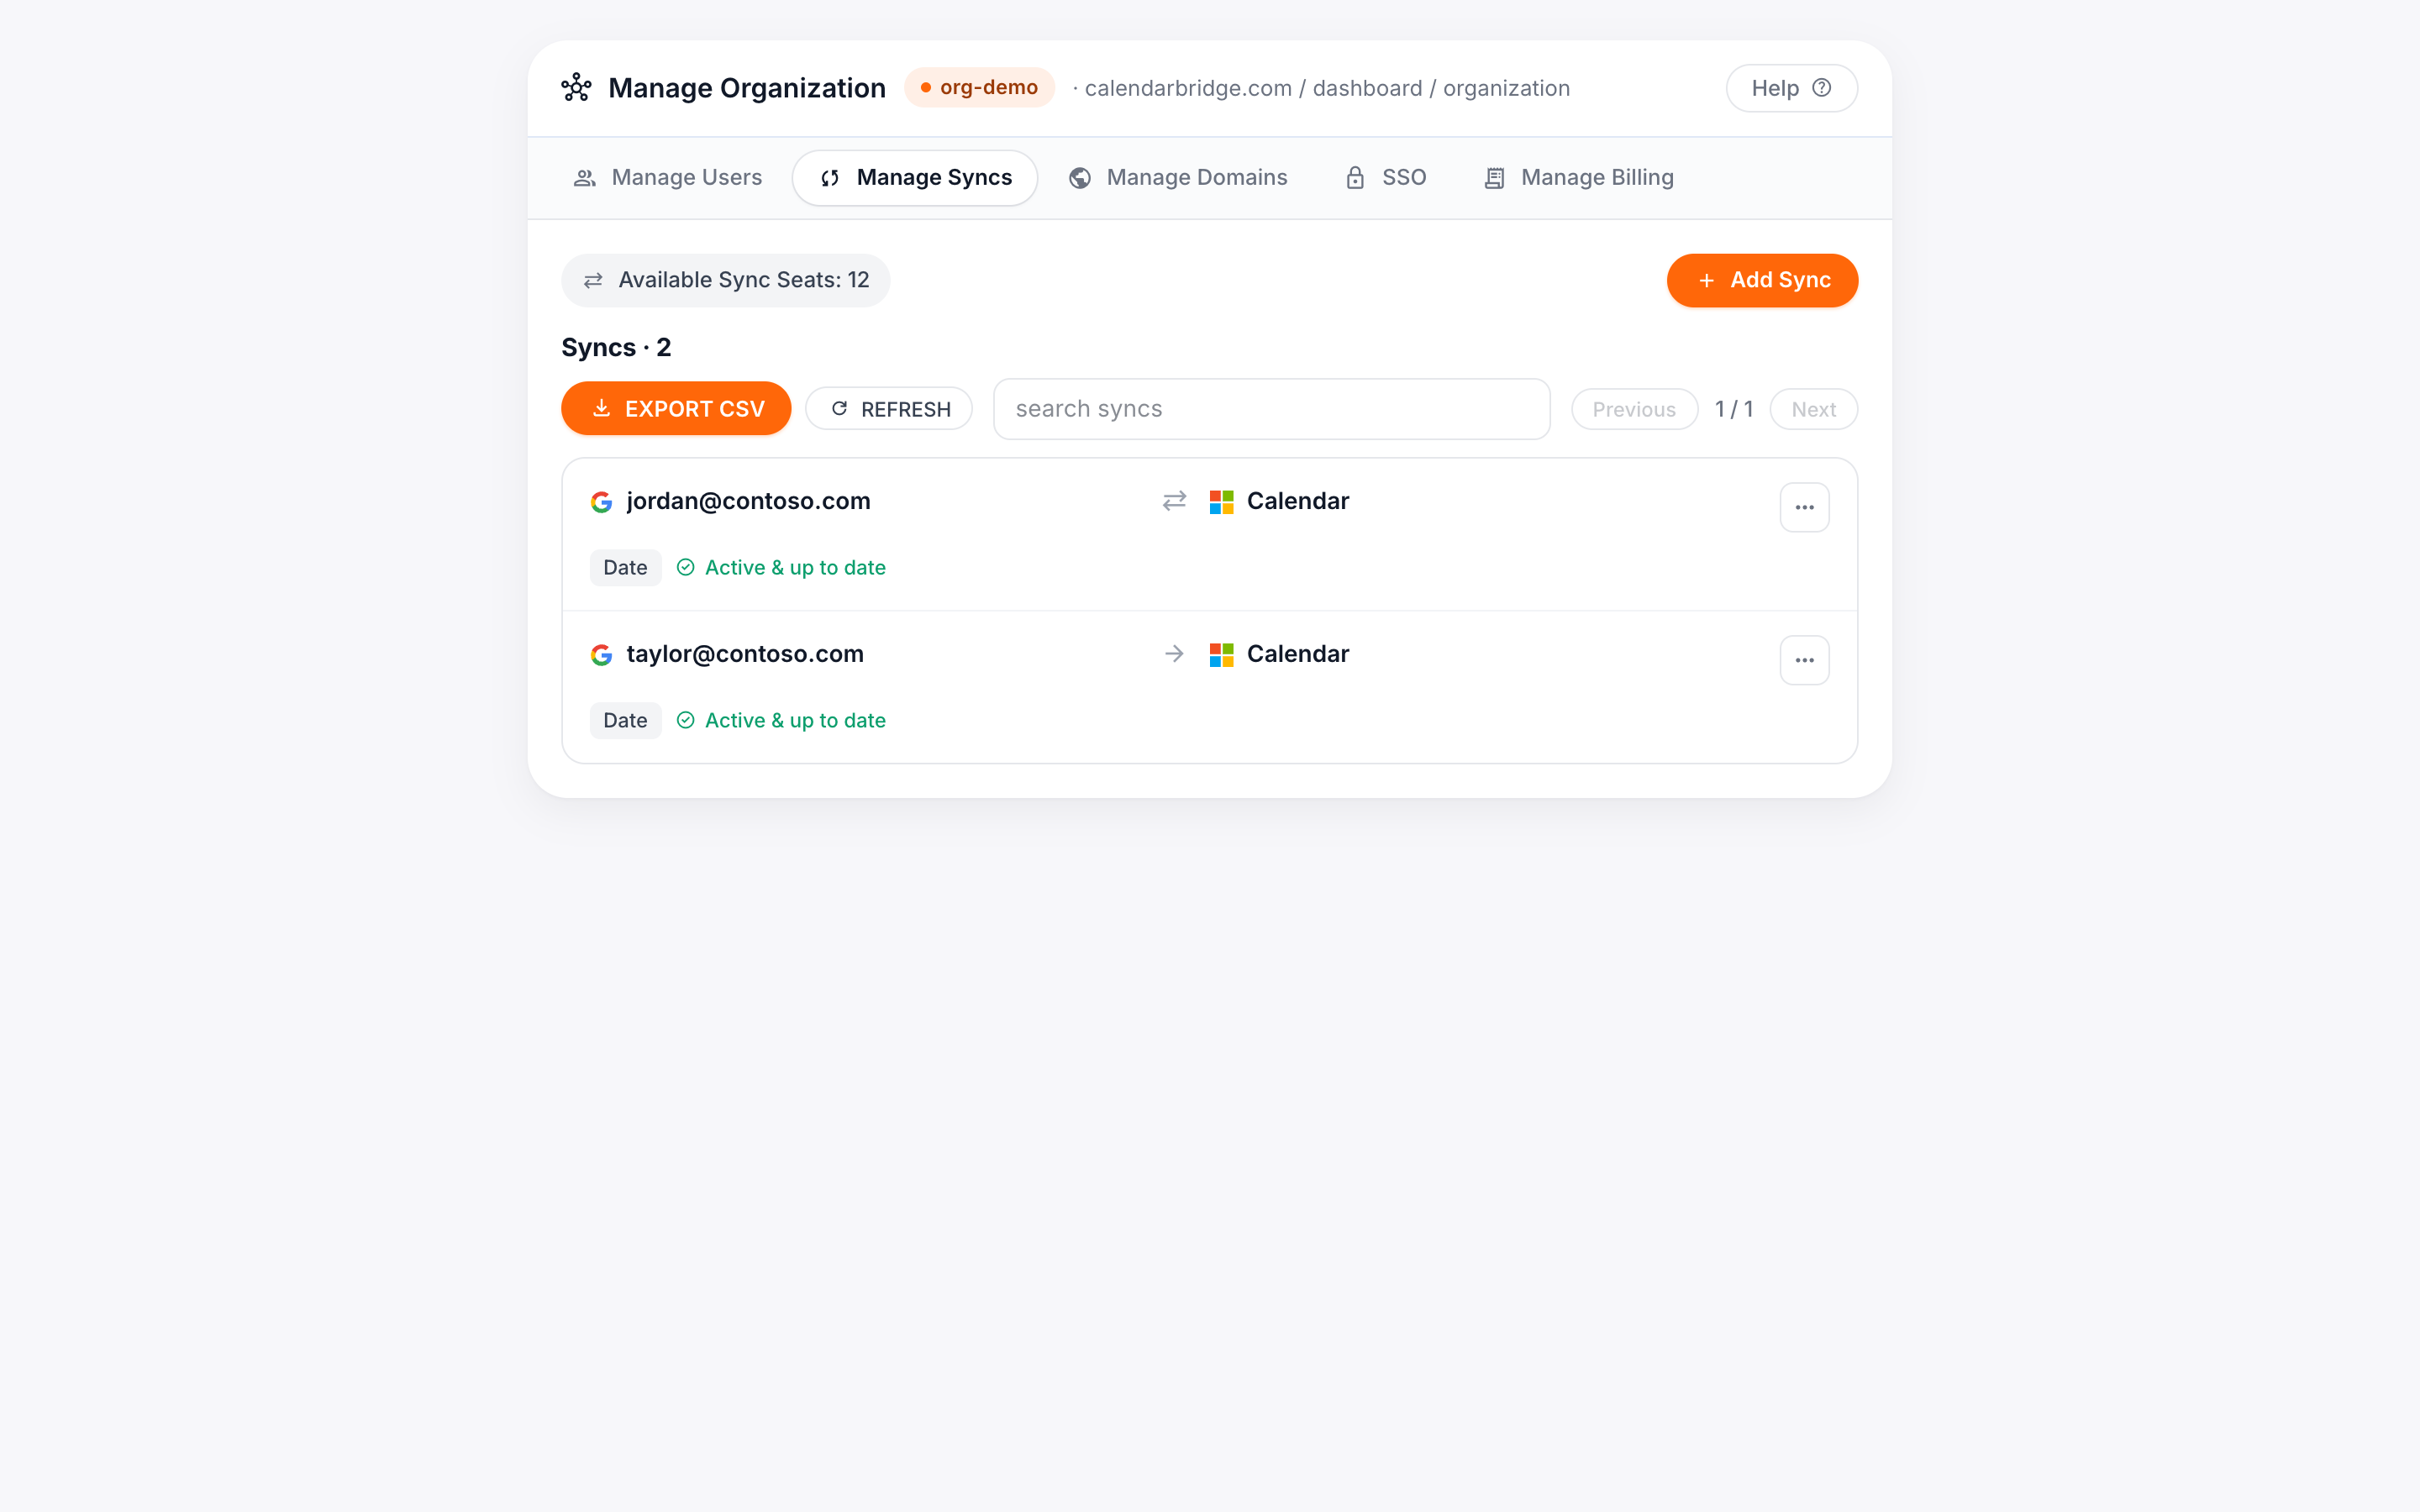
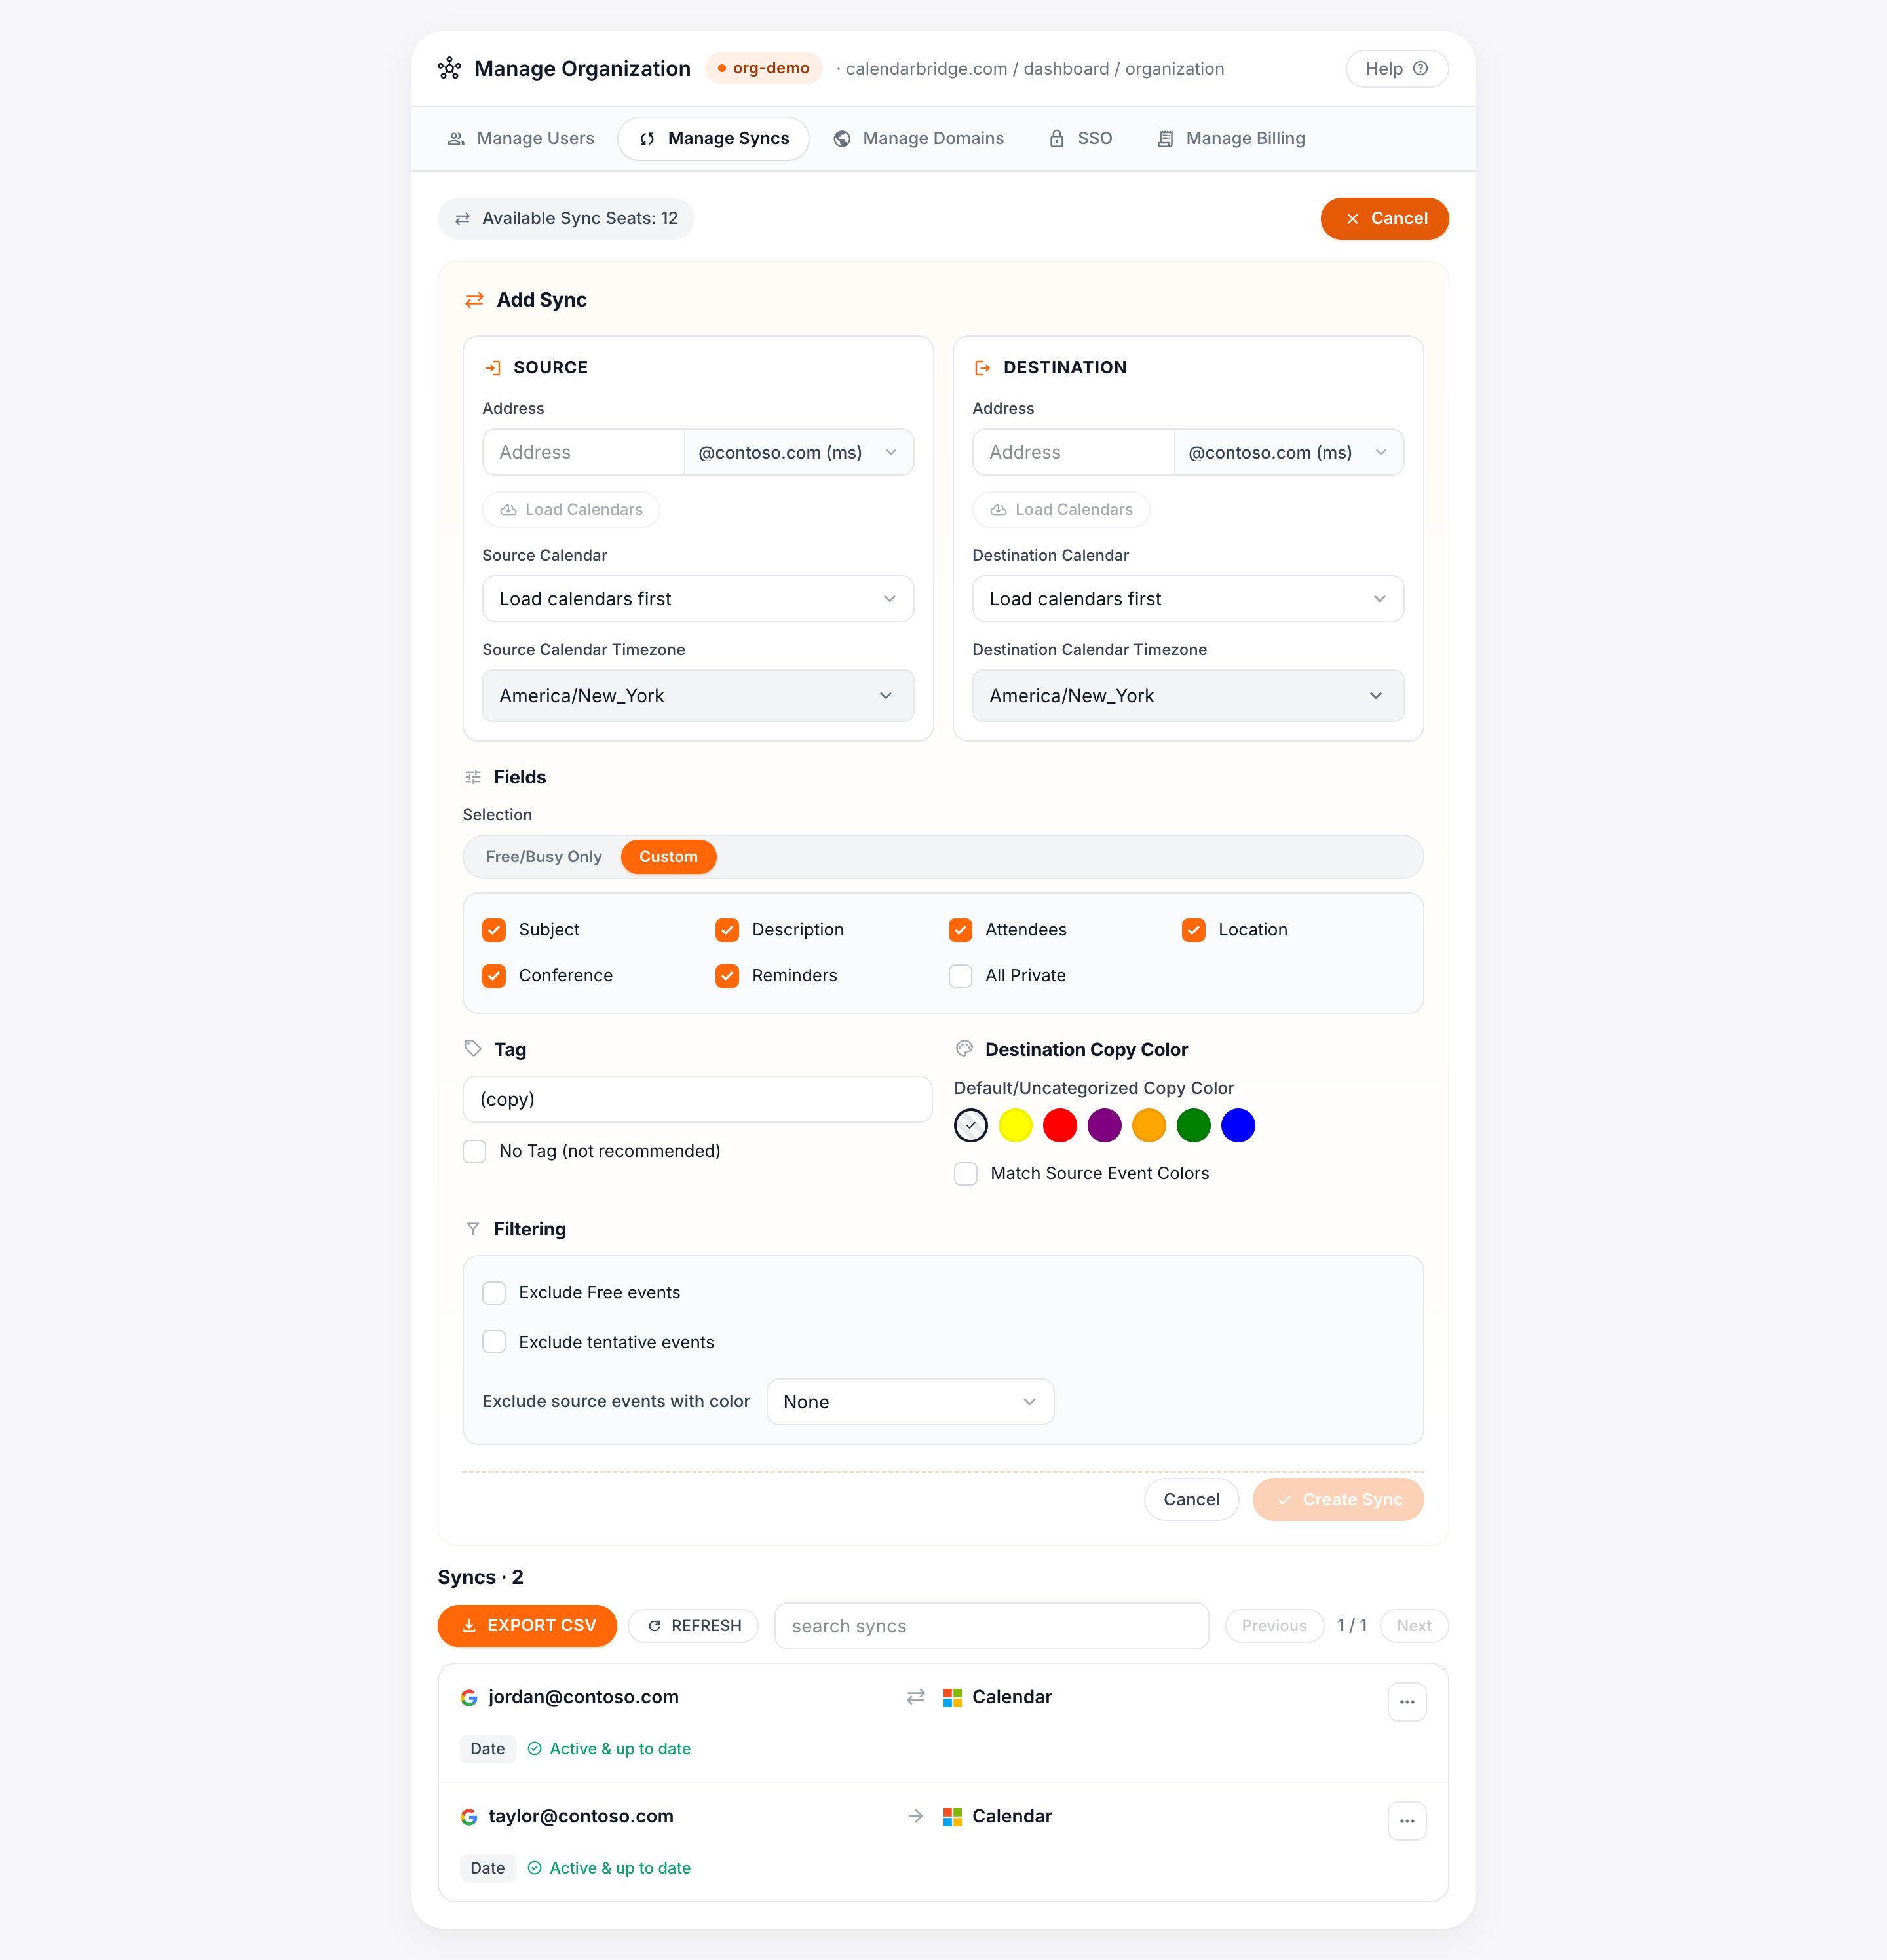
- If you are creating fewer than 20 sync connections, go to Managing Group Licenses and follow the steps to “Assign a sync license / create a managed sync connection.”
- If you are creating 20 or more sync connections, fill out our bulk sync creation template and email it to support@calendarbridge.com.