Connecting CalDAV Calendar Accounts
CalendarBridge connects to Fastmail, Zoho Calendar, Yahoo Calendar, AOL Calendar, Nextcloud, and any other CalDAV-compatible calendar. Each service uses an app password — this guide shows you where to create one on every service and what to enter in CalendarBridge.
What you can connect
CalDAV is the open standard that most non-Google, non-Microsoft calendars speak. CalendarBridge has first-class support for:
- Fastmail
- Zoho Calendar
- Yahoo Calendar
- AOL Calendar
- Nextcloud and any other CalDAV server (Radicale, Baïkal, SOGo, Synology Calendar, and more) via the Other (CalDAV) option
- Apple iCloud — covered in Connecting Calendar Accounts
A connected CalDAV account works across every CalendarBridge feature: real-time calendar syncs, scheduling links, the unified calendar, the AI Scheduling Assistant, and the MCP server for your own AI agent.
Add a CalDAV account
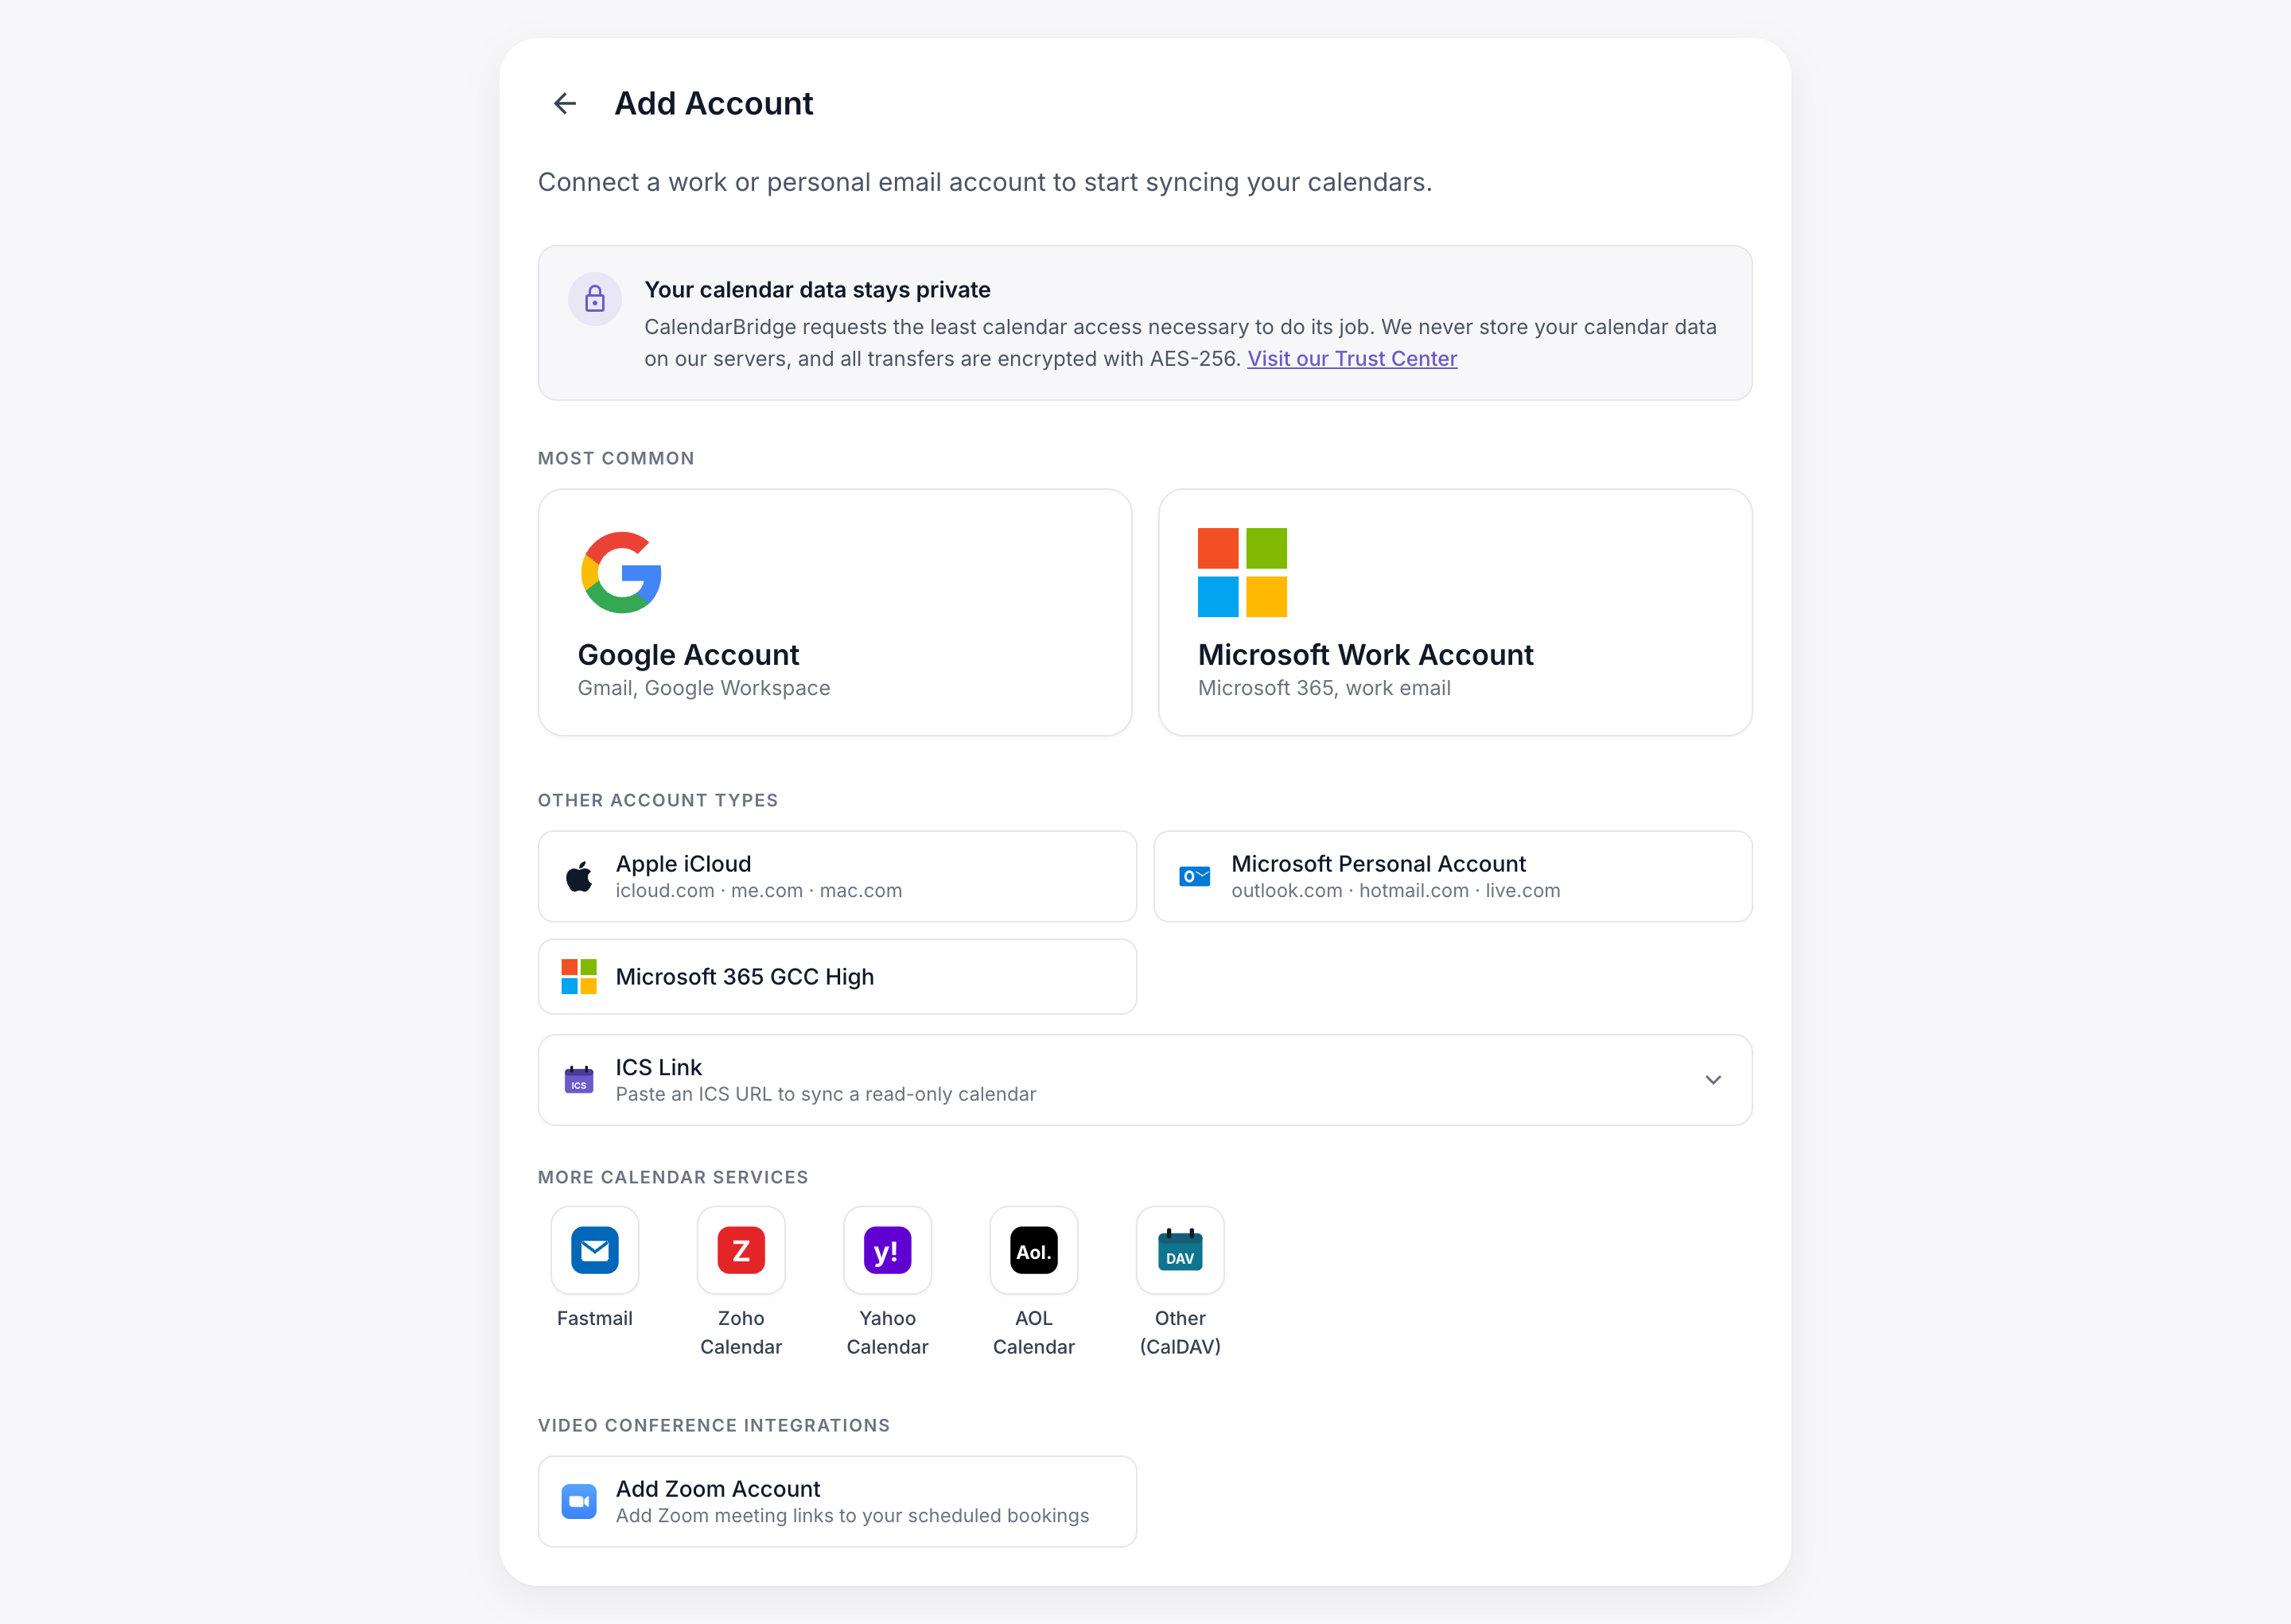
- Sign in at https://app.calendarbridge.com/login/ and open Accounts → Add Account.
- Under More calendar services, choose your provider — or Other (CalDAV) for Nextcloud and self-hosted servers.
- Enter your email address and an app password (created below), then click Add account. CalendarBridge verifies the connection and lists your calendars right away.
An app password is a single-purpose password your provider generates for one app. Your real account password never touches CalendarBridge, and you can revoke an app password at any time without changing your login. Most services require two-step verification to be enabled before they let you create one.
Fastmail
- In Fastmail, open Settings → Privacy & Security.
- Select the Integrations (third-party apps) section and choose New app password.
- Give it a name like CalendarBridge. For access, Calendars (CalDAV) is all CalendarBridge needs.
- Copy the generated password — Fastmail shows it only once.
- In CalendarBridge, pick the Fastmail tile and sign in with your Fastmail email address and the app password.
Zoho Calendar
- Go to accounts.zoho.com and open Security.
- Select App Passwords and choose Generate New Password. (Zoho requires multi-factor authentication to be enabled first.)
- Name it CalendarBridge and copy the generated password.
- In CalendarBridge, pick the Zoho Calendar tile and sign in with your Zoho email address and the app password.
Zoho accounts hosted on a regional data center (for example zoho.eu or zoho.in) should use the Other (CalDAV) option instead, with your region's calendar server URL (for example https://calendar.zoho.eu).
Yahoo Calendar
- Go to your Yahoo Account Security page.
- Select Generate app password (sometimes shown as Manage app passwords).
- Choose Other app, name it CalendarBridge, and select Generate.
- Copy the 16-character password Yahoo shows you.
- In CalendarBridge, pick the Yahoo Calendar tile and sign in with your Yahoo email address and the app password.
AOL Calendar
- Go to your AOL Account Security page.
- Select Generate app password (sometimes shown as Manage app passwords).
- Choose Other app, name it CalendarBridge, and select Generate.
- Copy the password AOL shows you.
- In CalendarBridge, pick the AOL Calendar tile and sign in with your AOL email address and the app password.
Nextcloud
Nextcloud connects through the Other (CalDAV) option, since every Nextcloud server has its own address.
- In Nextcloud, open your avatar menu → Personal settings → Security.
- Scroll to Devices & sessions, enter CalendarBridge as the app name, and select Create new app password.
- Copy the generated password.
- In CalendarBridge, pick Other (CalDAV). Enter your Nextcloud login email, the app password, and your server's URL — your Nextcloud base address, for example
https://cloud.example.com.
If the base address is not accepted, use the full CalDAV path: https://cloud.example.com/remote.php/dav.
Other CalDAV servers
The Other (CalDAV) option connects any standards-compliant CalDAV server, whether self-hosted (Radicale, Baïkal, SOGo, Synology Calendar, and more) or a hosted service not listed above.
- Create an app password on your server if it supports them; otherwise use the account's password for CalDAV access.
- In CalendarBridge, pick Other (CalDAV) and enter your email or username, the password, and the server's https:// URL.
CalendarBridge discovers your calendars automatically using standard CalDAV discovery (/.well-known/caldav). If discovery fails, try the server's full CalDAV base path. Typical base paths for popular servers:
- Radicale: the server's root URL, for example
https://radicale.example.com:5232/ - Baïkal:
https://baikal.example.com/dav.php - SOGo:
https://sogo.example.com/SOGo/dav/ - Synology Calendar:
https://nas.example.com:5001/caldav/(the Synology Calendar app shows your exact CalDAV address under its settings)
Troubleshooting
- “Issue with e-mail address or app key” — double-check you pasted an app password, not your regular sign-in password, and that the email address matches the account the password was created on.
- No calendars found — make sure the account actually has at least one calendar, and for Other (CalDAV) that the server URL starts with
https://. - The account stopped syncing — app passwords can be revoked from your provider's security page. Generate a new one and re-connect the account from Accounts.
- For Apple iCloud instructions, see Connecting Calendar Accounts.