Welcome to CalendarBridge

A 10-minute walkthrough that takes you from a fresh account to two calendars syncing in real time, with sensible privacy defaults.

JM Chad Gilles Updated April 28, 2026 8 min read

What is CalendarBridge?

CalendarBridge keeps multiple calendars in sync, automatically. When something is booked on your work calendar, a private placeholder shows up on your personal calendar — and vice versa — so you stop double-booking yourself across accounts you can’t merge.

You can also share a single scheduling link that respects every calendar at once, and let the AI Assistant draft replies and propose times based on your real availability.

info
Free to try. The Starter plan covers two connected calendars and one active sync. You don’t need to add a payment method to finish this guide.

Before you begin

Have these ready before you start — it makes the rest of the walkthrough painless:

Step 1 — Create your account

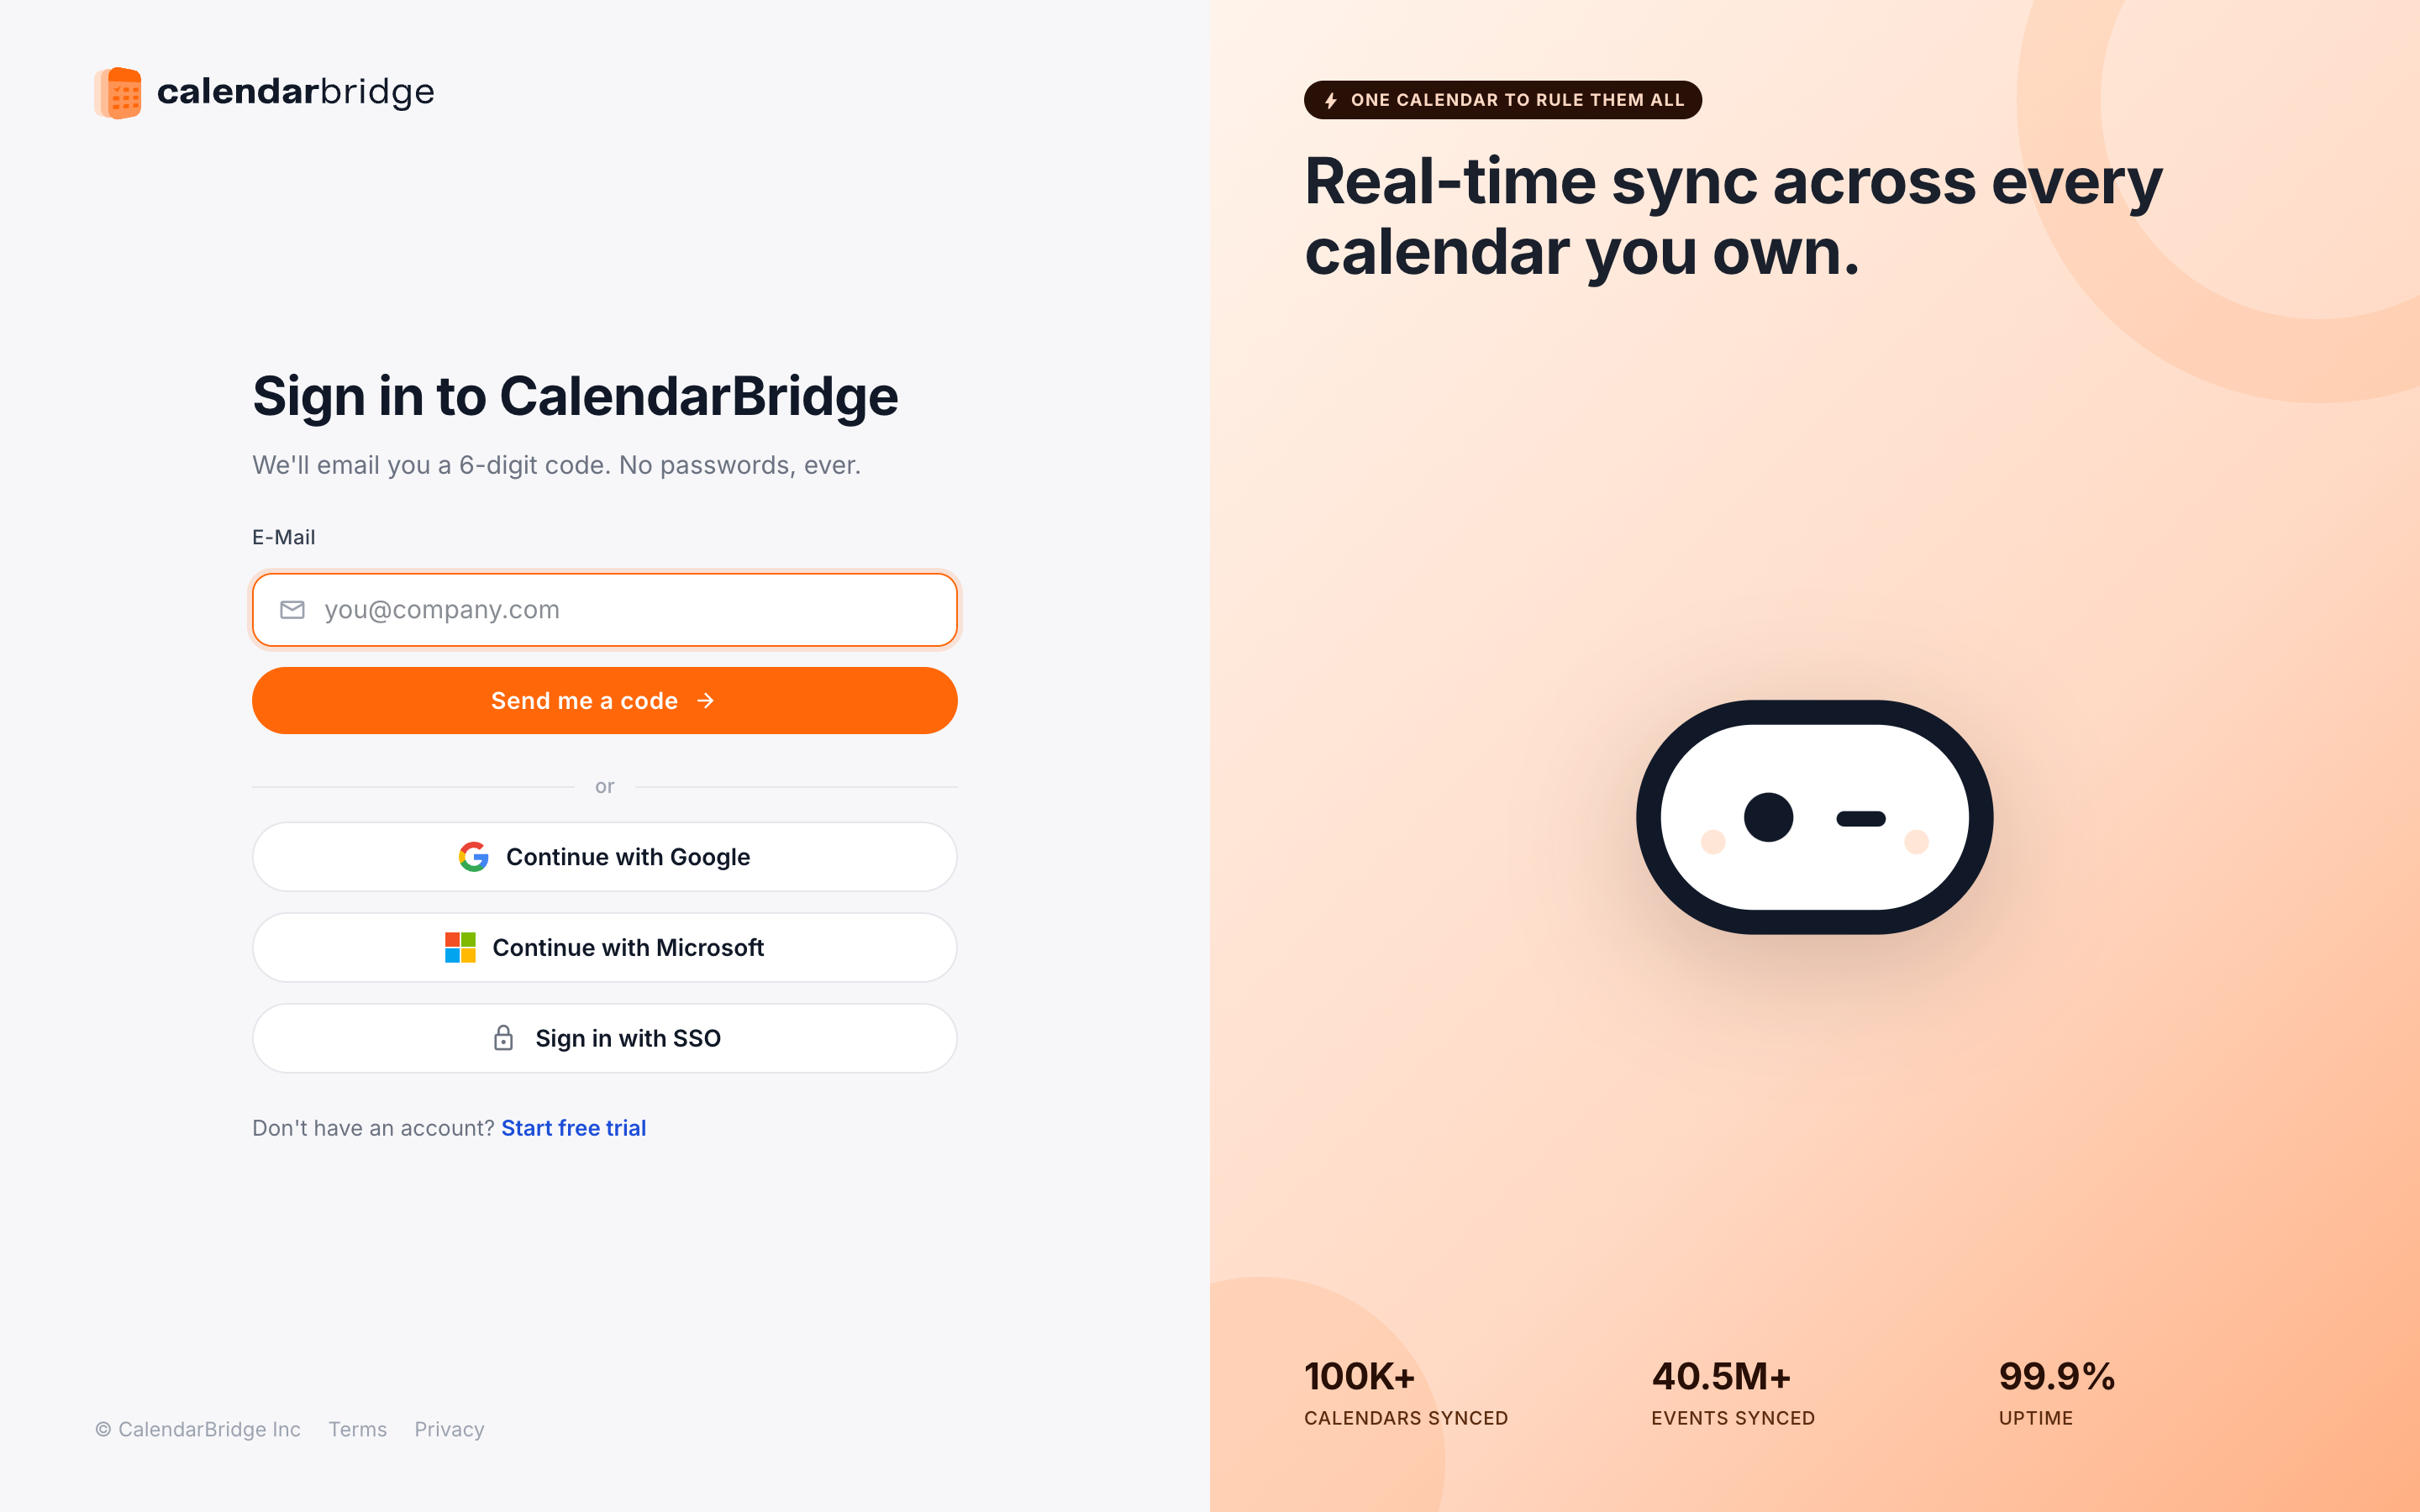
  1. Sign up at calendarbridge.com

    Use the email address you check most. This becomes your login and is where account notifications are sent. Signing up with Google or Microsoft also pre-connects that calendar in Step 2.

  2. Verify your email

    We send a six-digit code. Paste it on the next screen. If you don’t see the email after a minute, check spam and add noreply@calendarbridge.com to your contacts.

  3. Pick your time zone

    This sets the default for events you create inside CalendarBridge. You can override it per-sync later if you travel often.

Step 2 — Connect your calendars

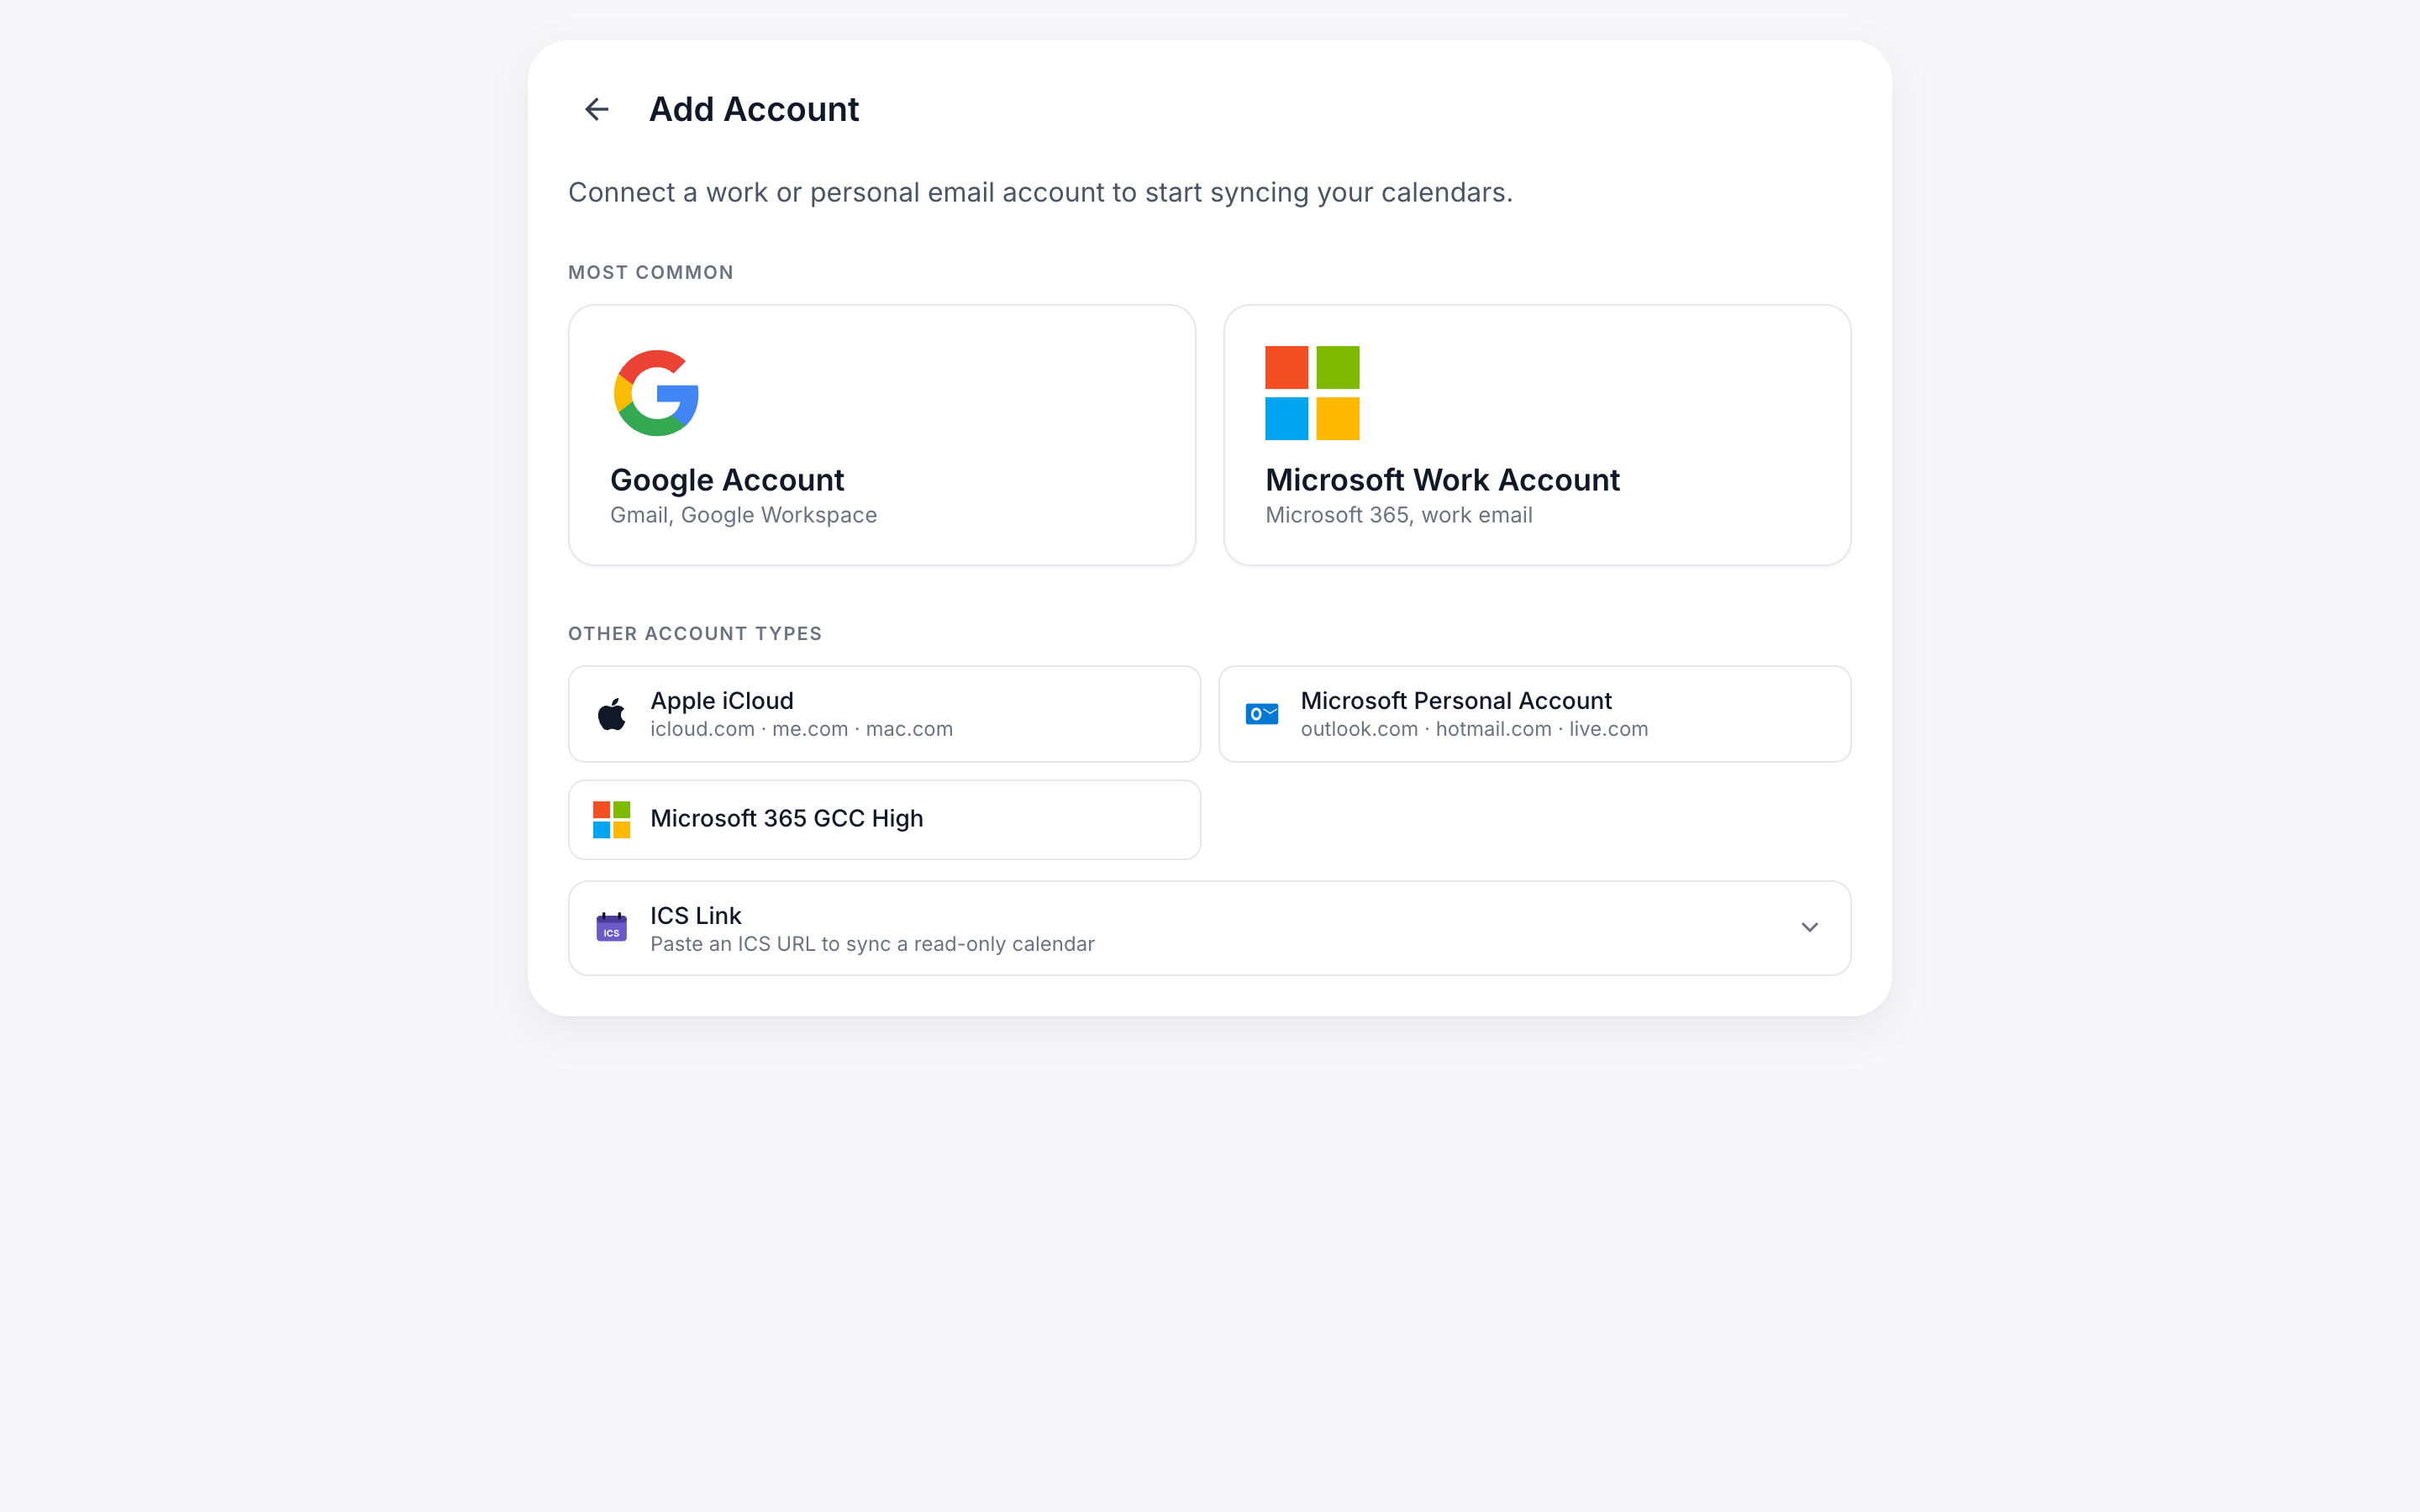
From the home screen, open My Accounts in the left navigation and click Add calendar account. Choose your provider and complete the OAuth prompt in the popup.

The My Accounts page in CalendarBridge, showing a connected account and the Add Account button in the top-right corner.
The My Accounts page — use Add Account (top right) to connect each calendar.

What we ask for, and why

We don’t request mail, contacts, or file access. You can review and revoke permissions any time from your provider’s account settings.

shield
Managed work accounts. If you see a “requires admin approval” error on Microsoft 365, forward the consent link to your IT admin. We have a one-page summary for admins that usually clears the request quickly.

Repeat the process for every account you want to sync — most users connect two, but the Pro plan supports up to ten.

Step 3 — Set up your first sync

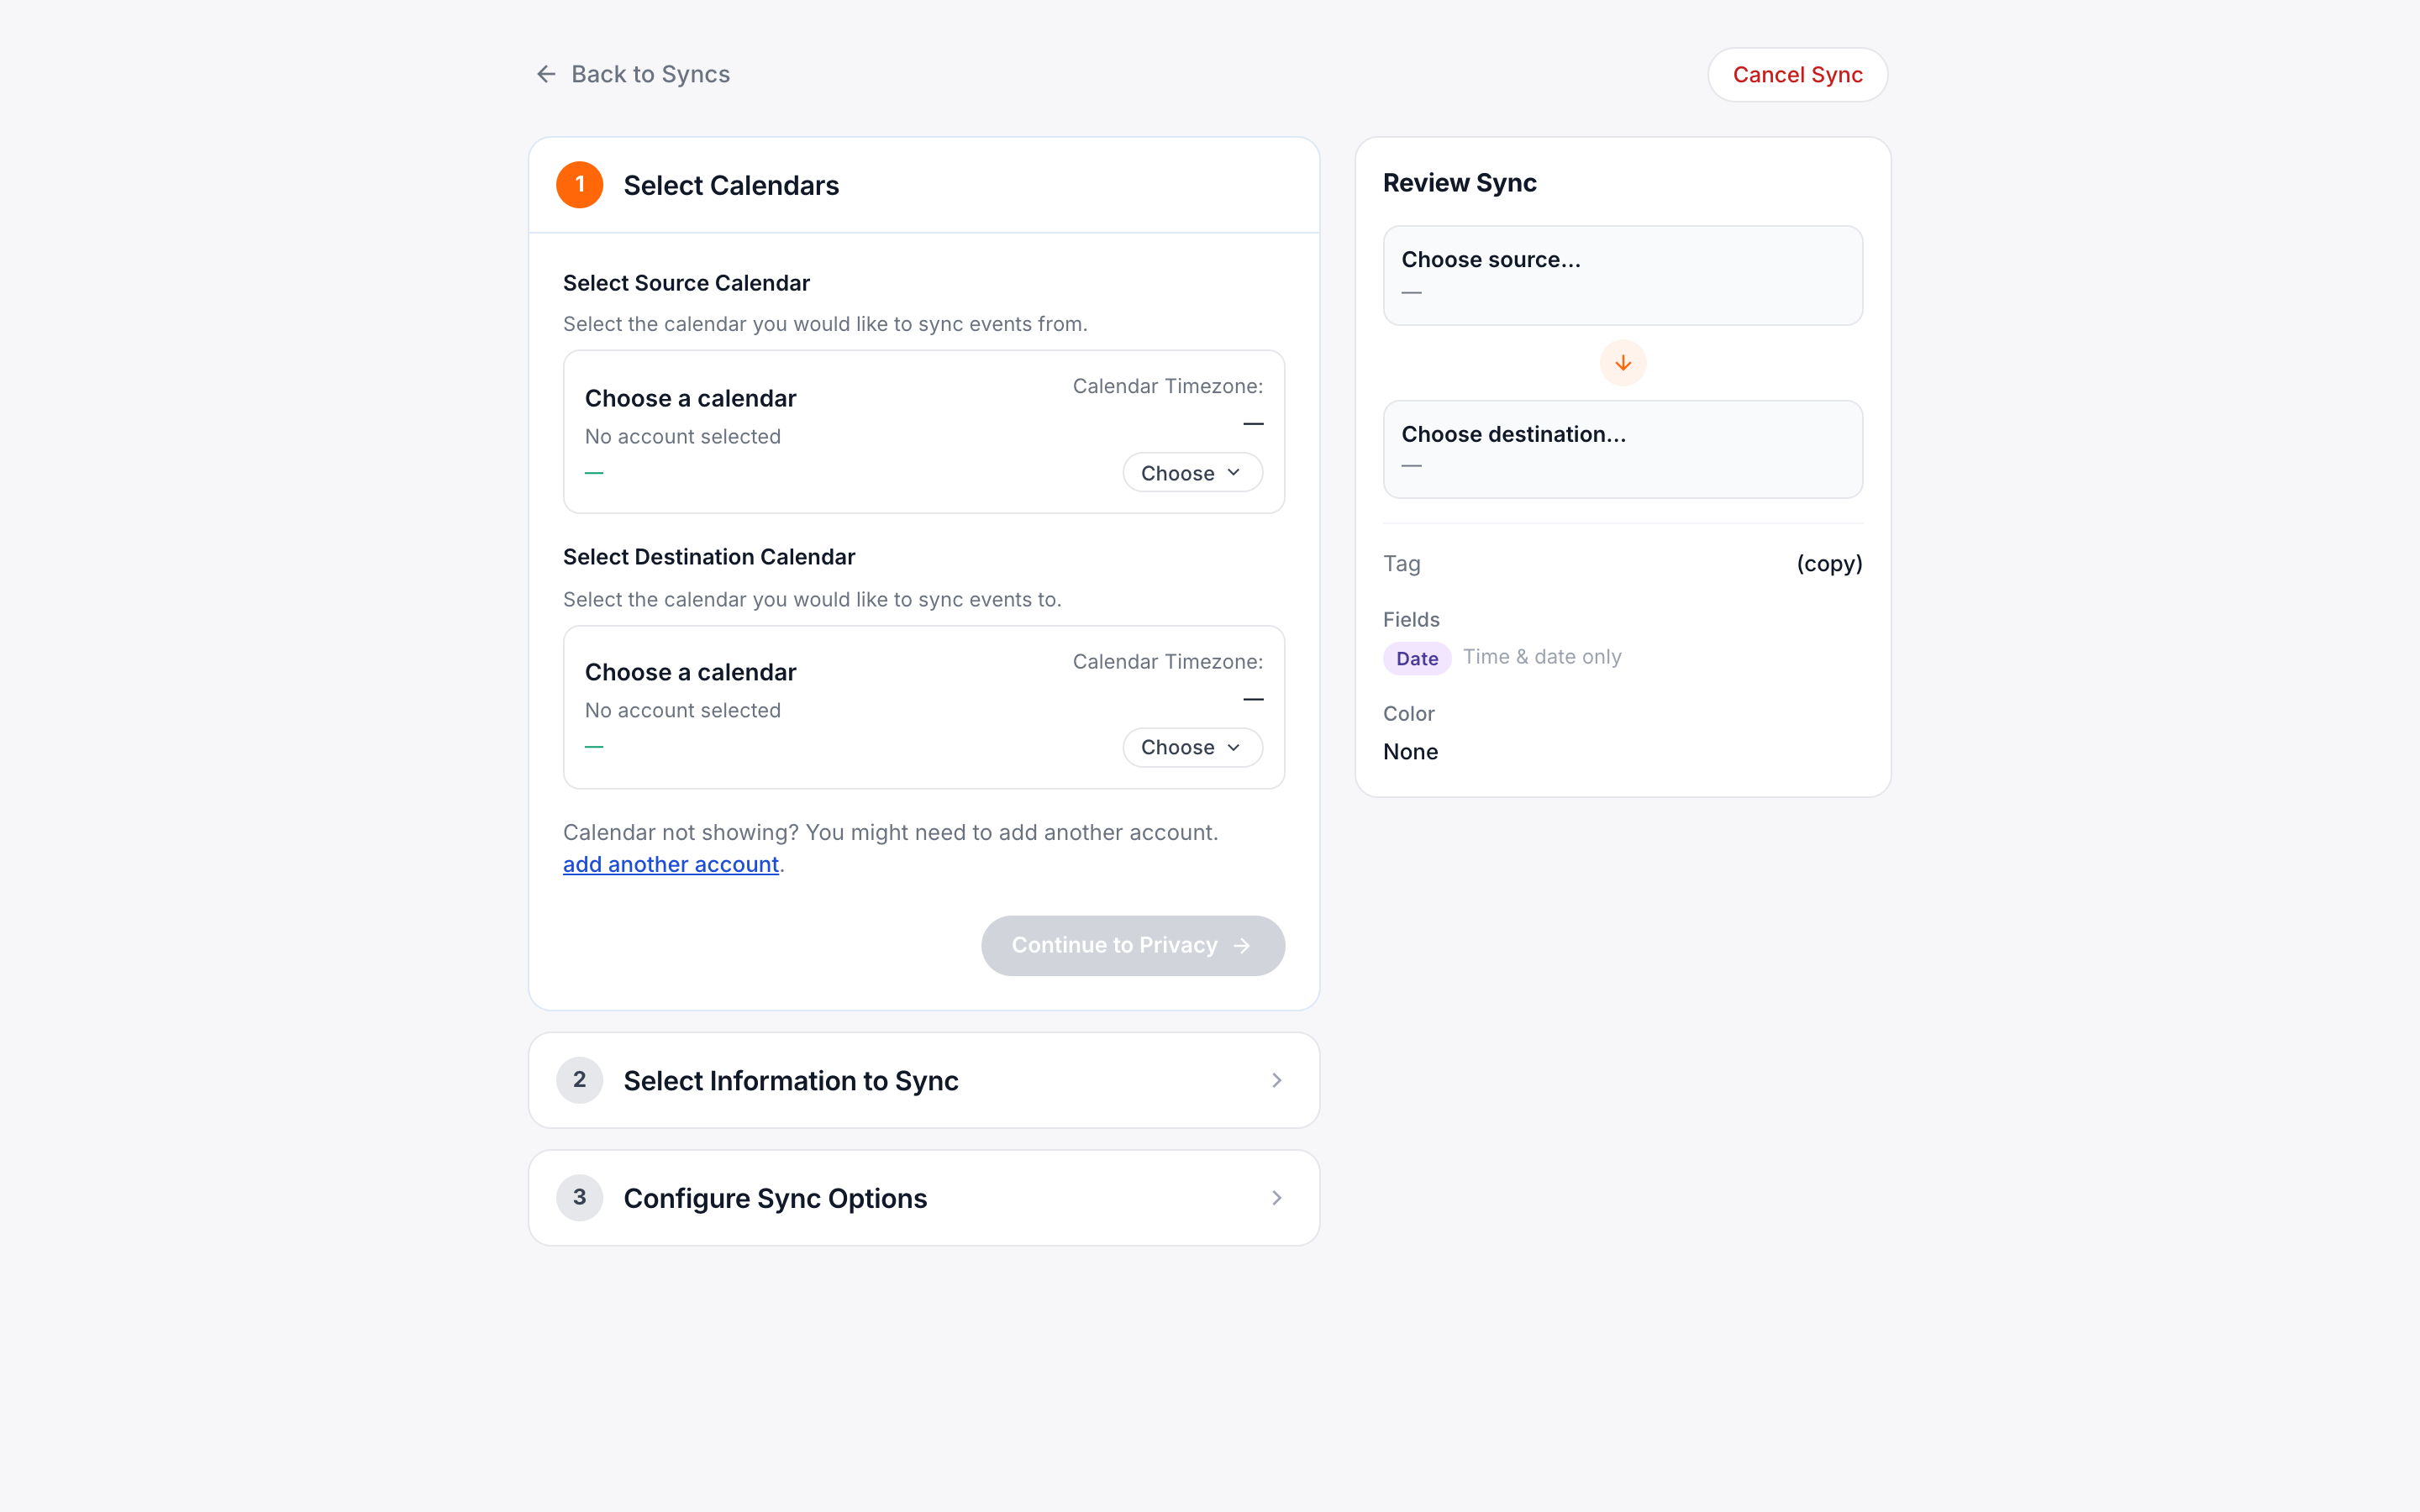
A sync is a one-way or two-way relationship between two calendars. Think of it as a rule: “whenever an event lands on Calendar A, mirror a placeholder on Calendar B.”

  1. Go to Manage Syncs

    Click Syncs in the left rail. At the top of the page you’ll see two buttons: Create One Way Sync and Sync Multiple Calendars Both Directions. Pick the one that matches the relationship you want.

  2. Choose your sync type

    Create One Way Sync mirrors events from a single source calendar onto a single destination calendar. Use this when you only need busy times to flow one direction — for example, work events showing up on a personal calendar.

    Sync Multiple Calendars Both Directions sets up a two-way relationship across two or more calendars at once, so each calendar reflects every other calendar’s busy times. Use this when you want every calendar in the group to stay in lockstep.

    If you’re unsure, start with Sync Multiple Calendars Both Directions — it matches what most people want, and you can edit or split it later.

  3. Pick the calendars

    For a one-way sync, choose the source (where real events live) and the destination (where placeholders should appear). For a both-directions sync, select every calendar that should participate in the group.

  4. Set privacy level

    Choose how much detail copies onto the other calendar(s). Busy block shows only “Busy.” Title only copies the event title. Full event includes title, location, and description.

  5. Save and run the first sync

    CalendarBridge backfills 30 days into the past and 365 days into the future on save. Larger backfills are available on Pro.

lightbulb
Tip. You can add a [CB] prefix to placeholder titles so they’re easy to tell apart from your real events — set this in Sync › Advanced.

Step 4 — Verify everything is working

Open both calendars side-by-side and confirm:

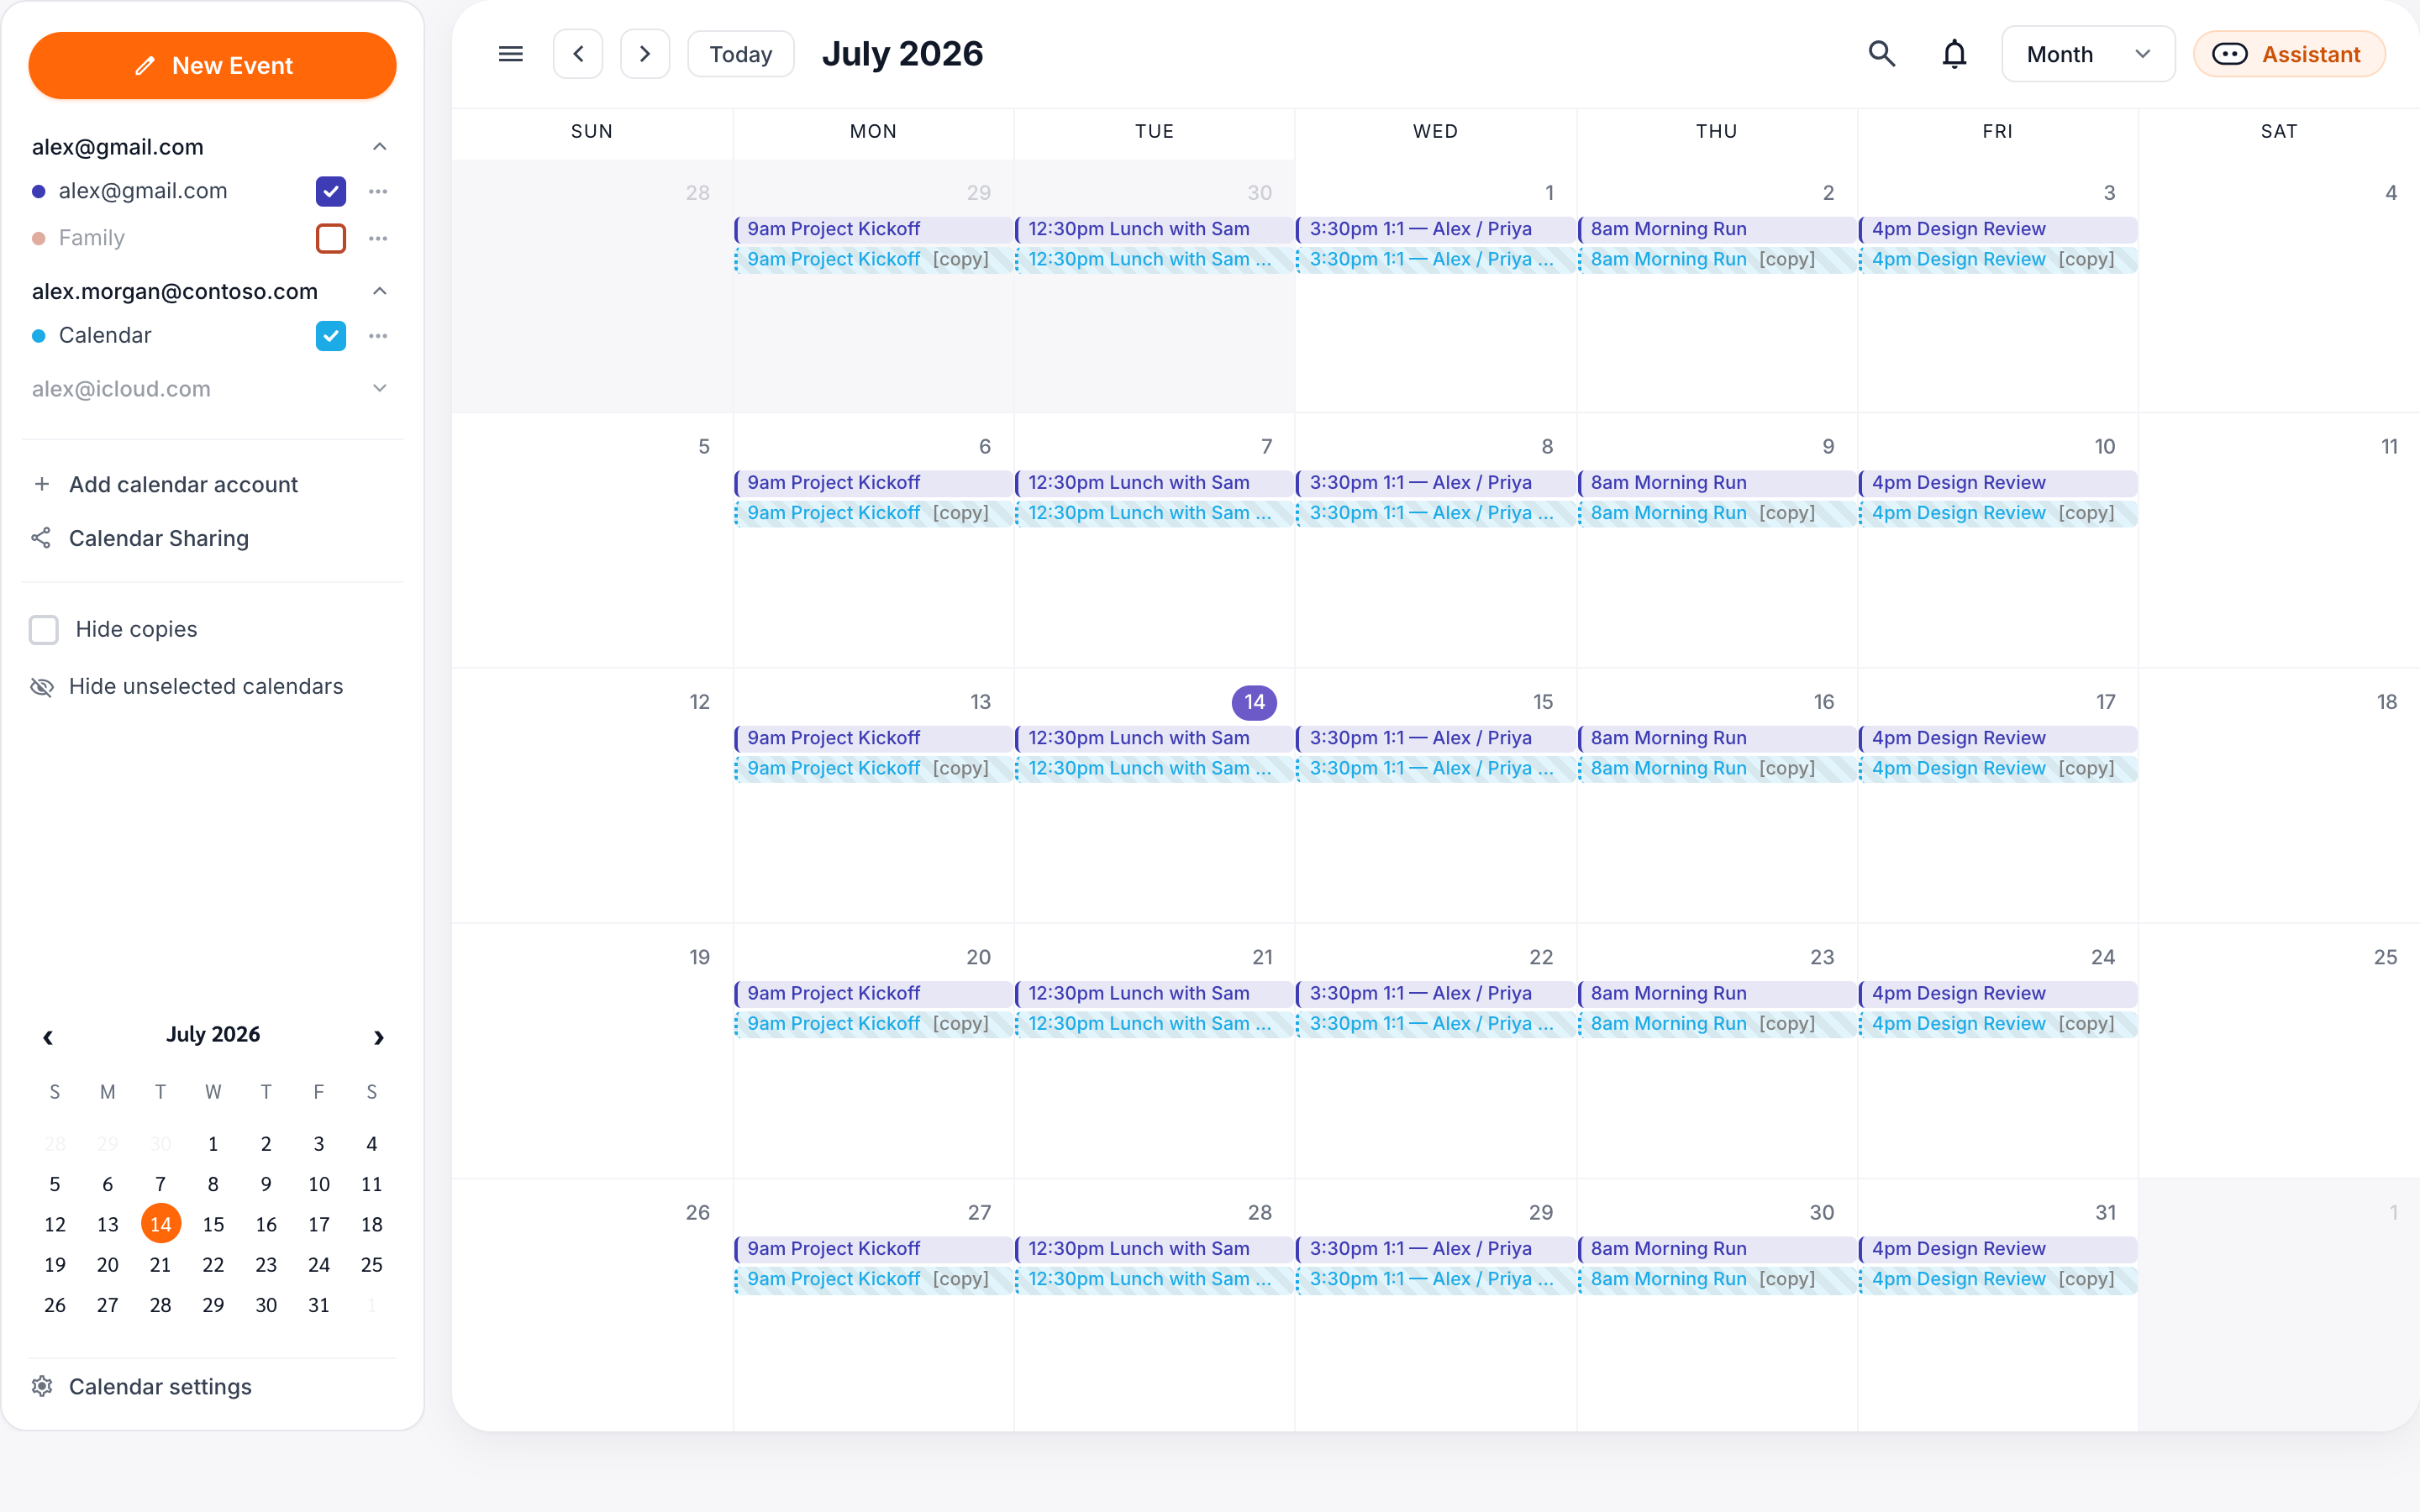
CalendarBridge unified calendar in month view, showing events from a work calendar and a personal calendar together.
Your unified calendar overlays every connected calendar, so real events and their synced placeholders show up together.

If anything looks off, the Sync activity log at the bottom of the sync detail page shows every action with a timestamp — usually enough to spot the issue. The Troubleshooting syncs guide covers the rest.

Next steps

You’re set up. Here’s what most people do next:

Was this article helpful?